Installing an auto steer system in your tractor can significantly enhance its operational efficiency. This process, though seemingly complex, can be broken down into manageable steps. It's essential to have a clear understanding of what you need to do, as a properly installed system can make precision farming easier and more effective. With the correct setup, you'll notice improvements in productivity and accuracy while minimizing operator fatigue.

Preparing for Installation
Before diving into the auto steer system installation, it’s crucial to gather all necessary tools and equipment. This preparation includes having a complete installation kit, compatible mounting hardware, and tools such as a wrench set and screwdriver. Additionally, consult the user manual specific to your tractor model, as it often includes vital information about the installation process. Consider setting aside a dedicated workspace where you can efficiently perform the installation without distractions. Proper planning at this stage not only streamlines the process but also helps avoid potential mistakes when you're ready to install the system.
Mounting the Components
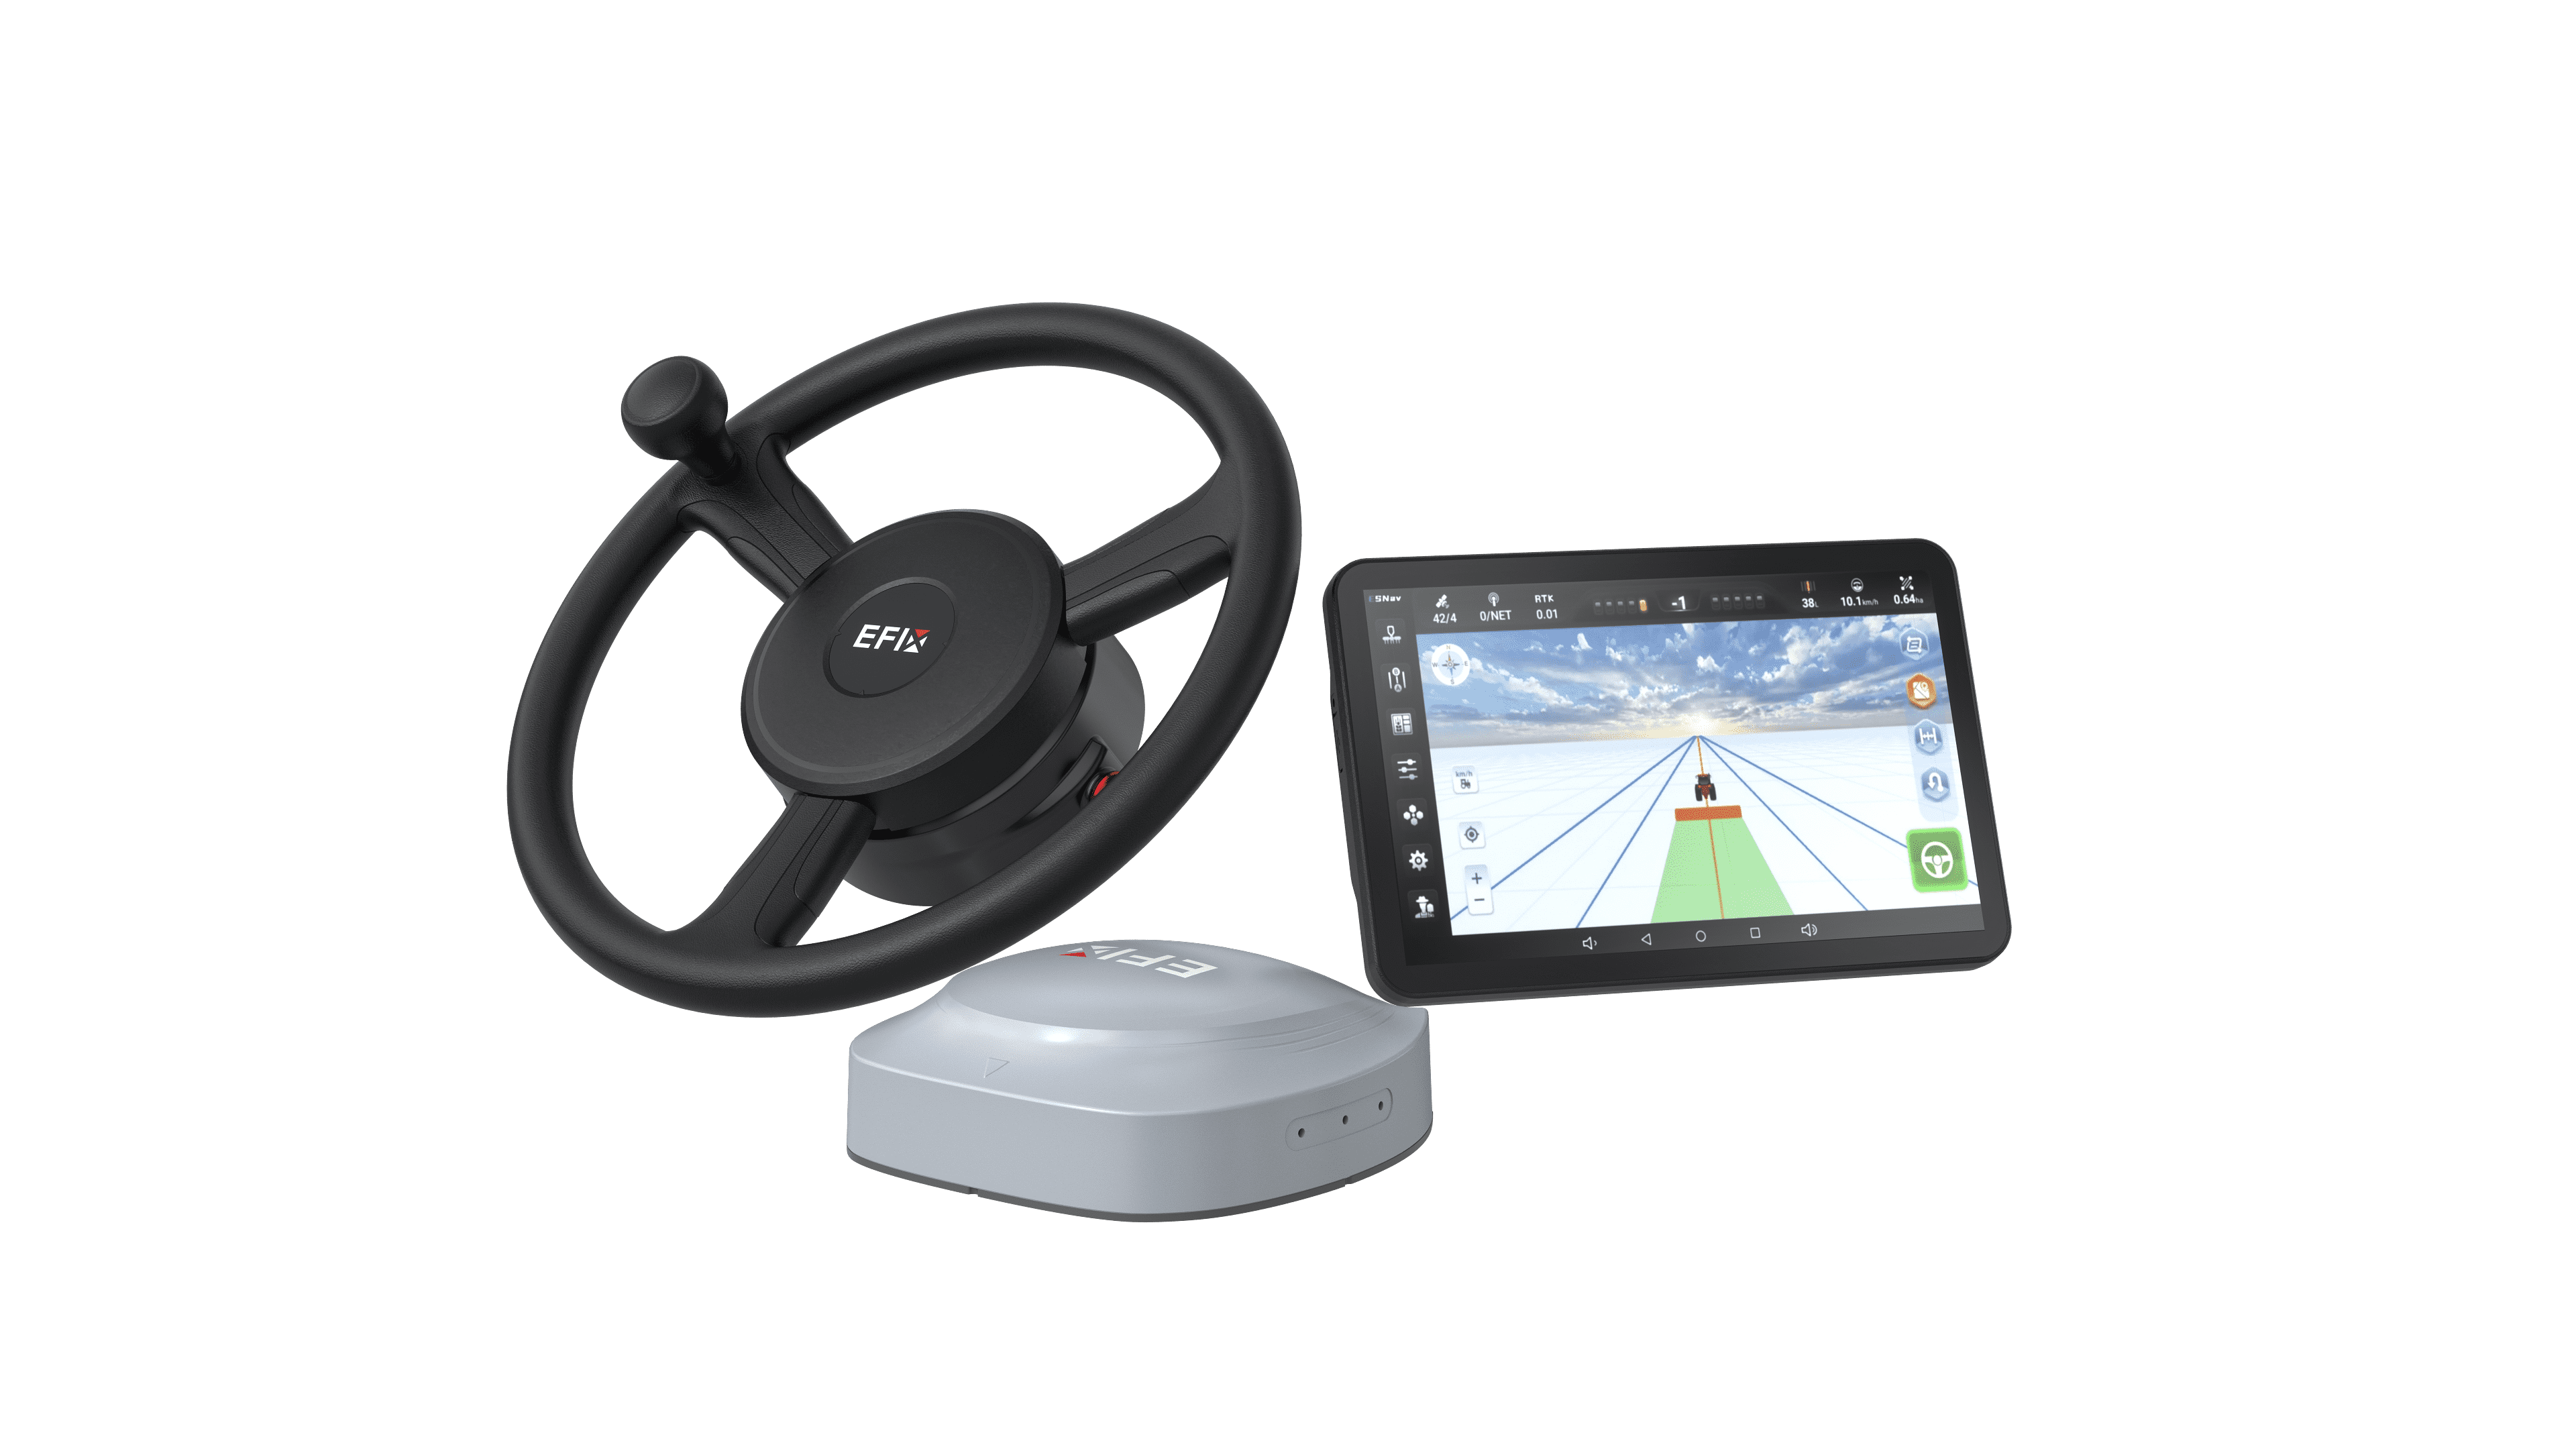
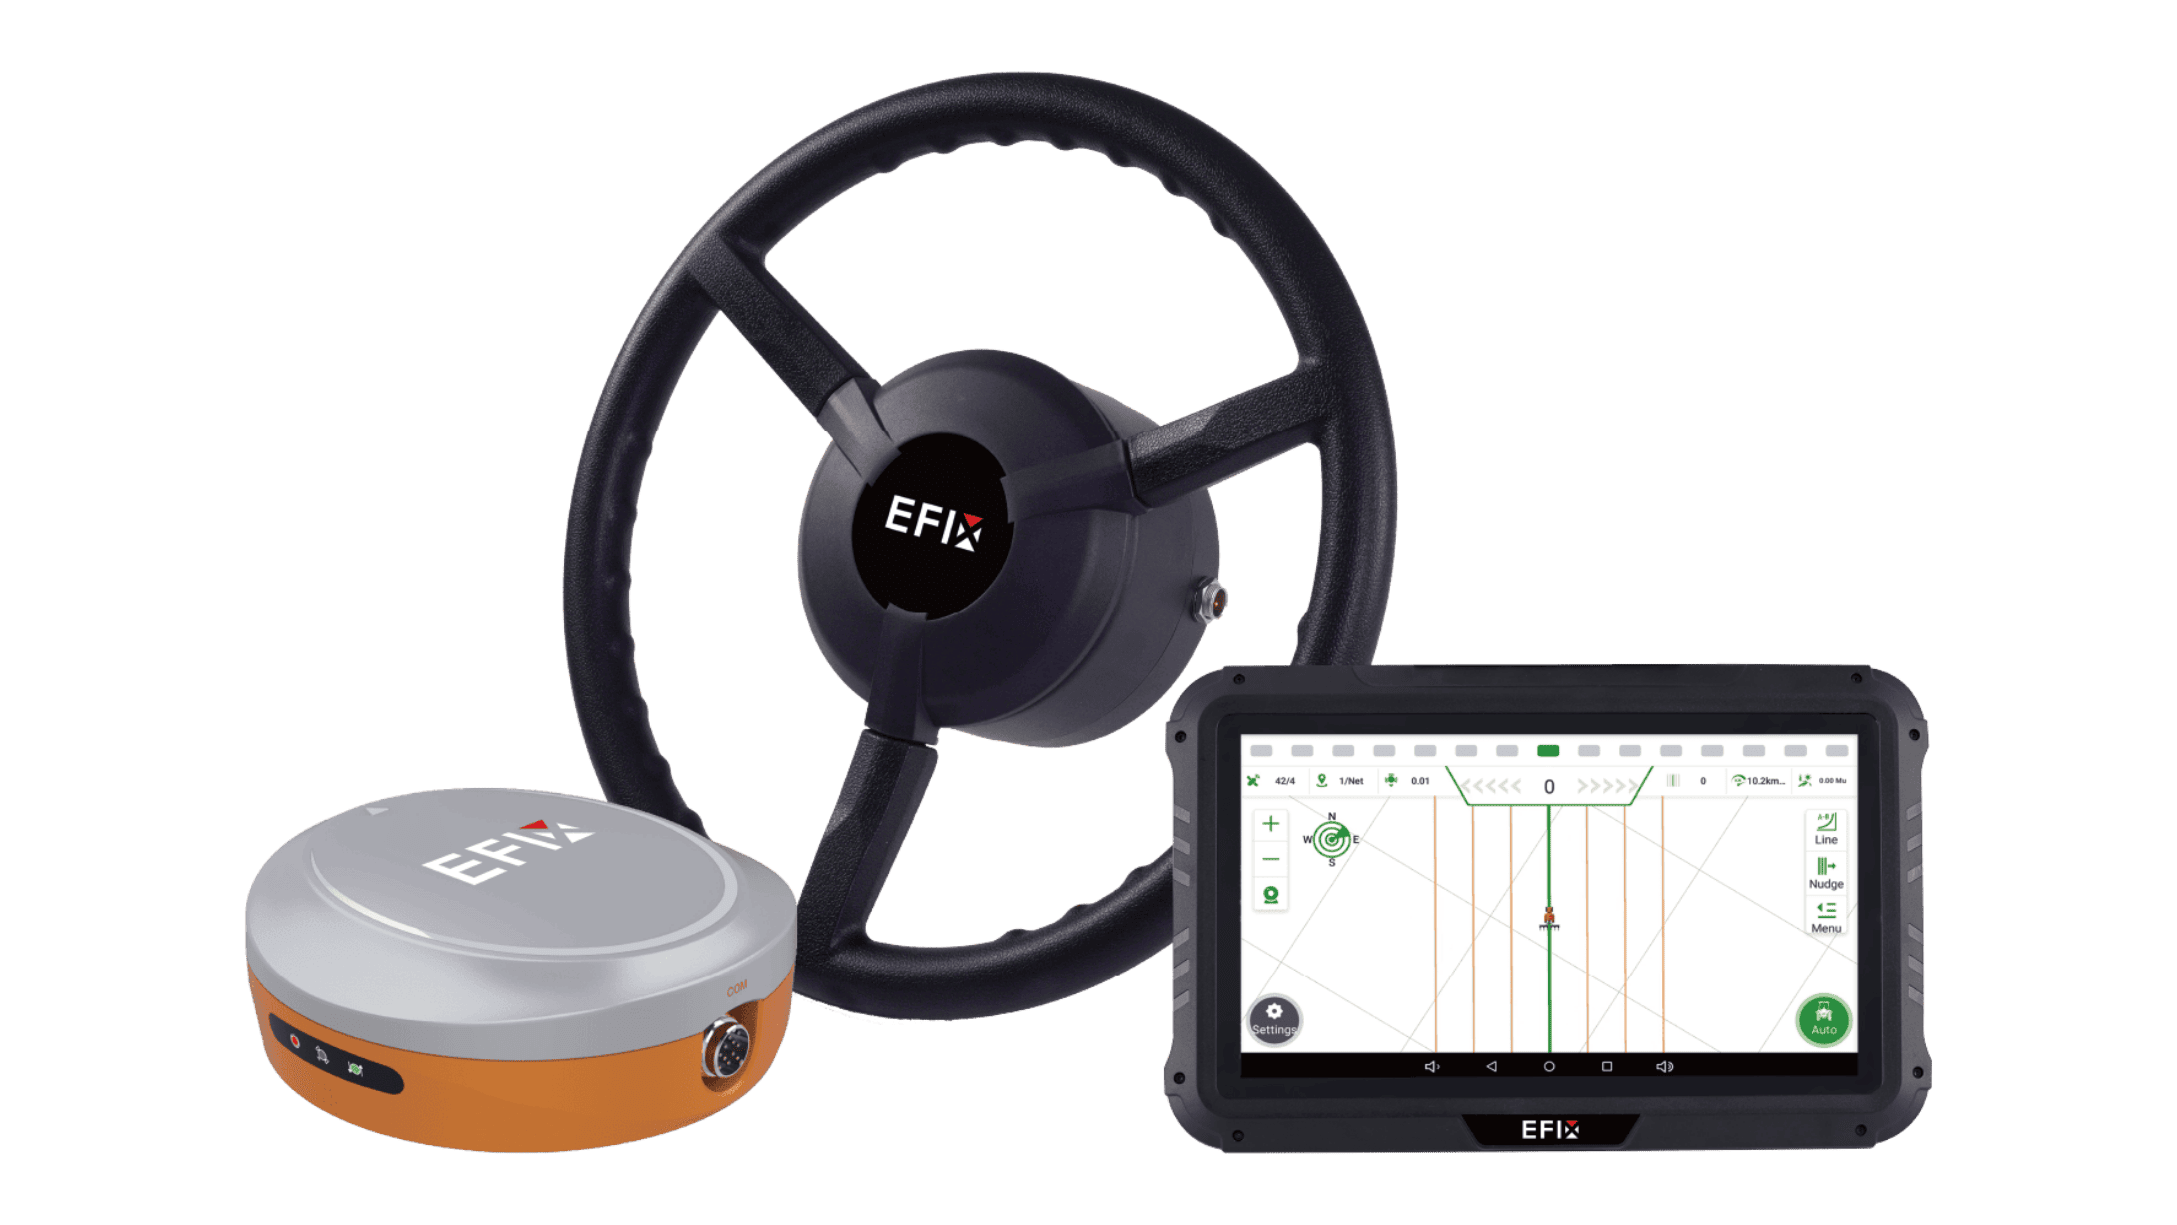
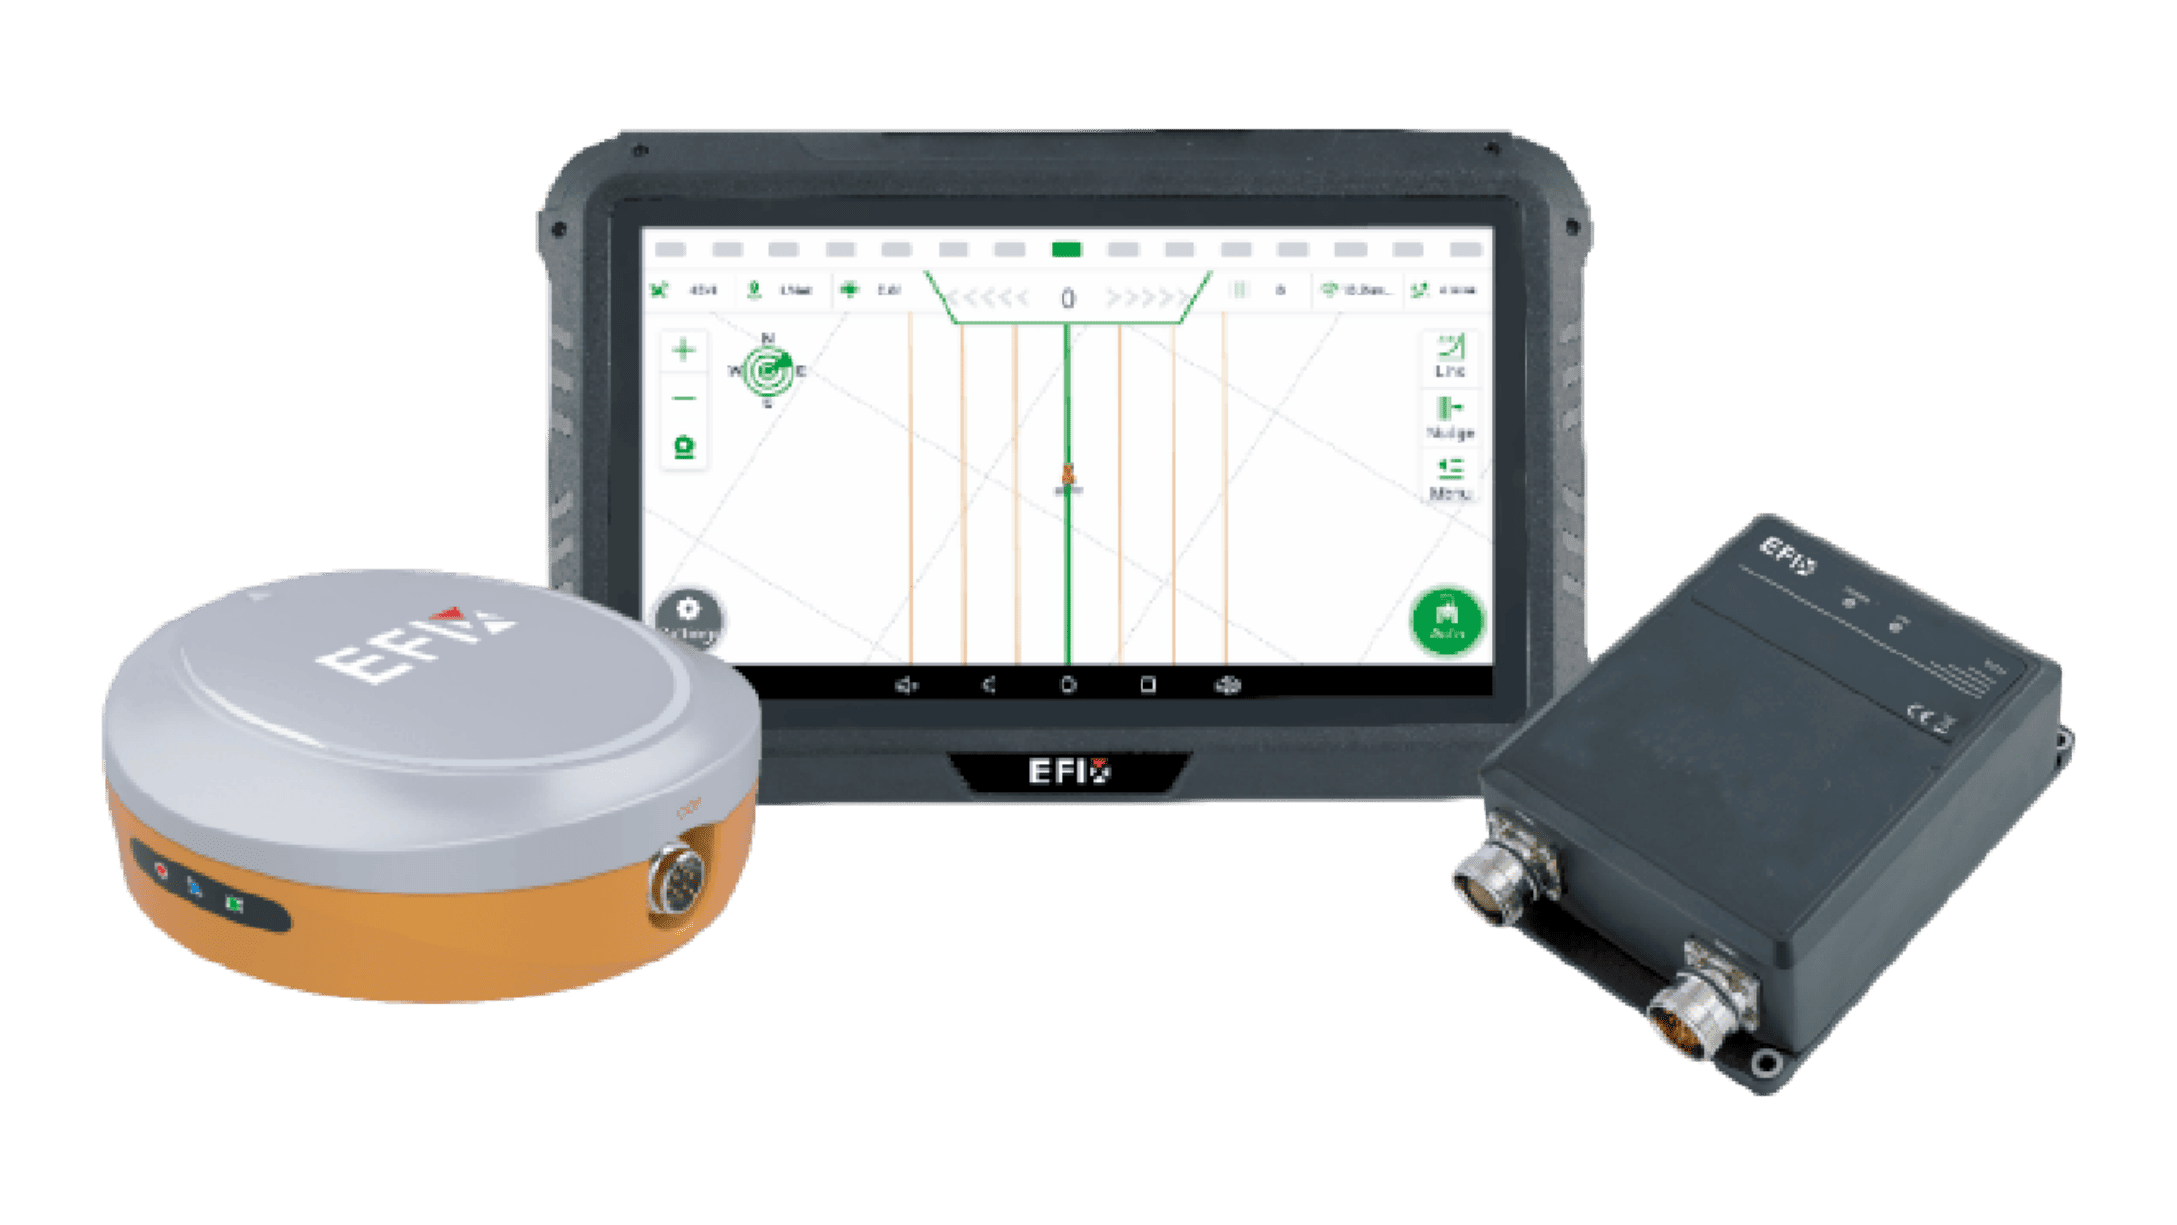
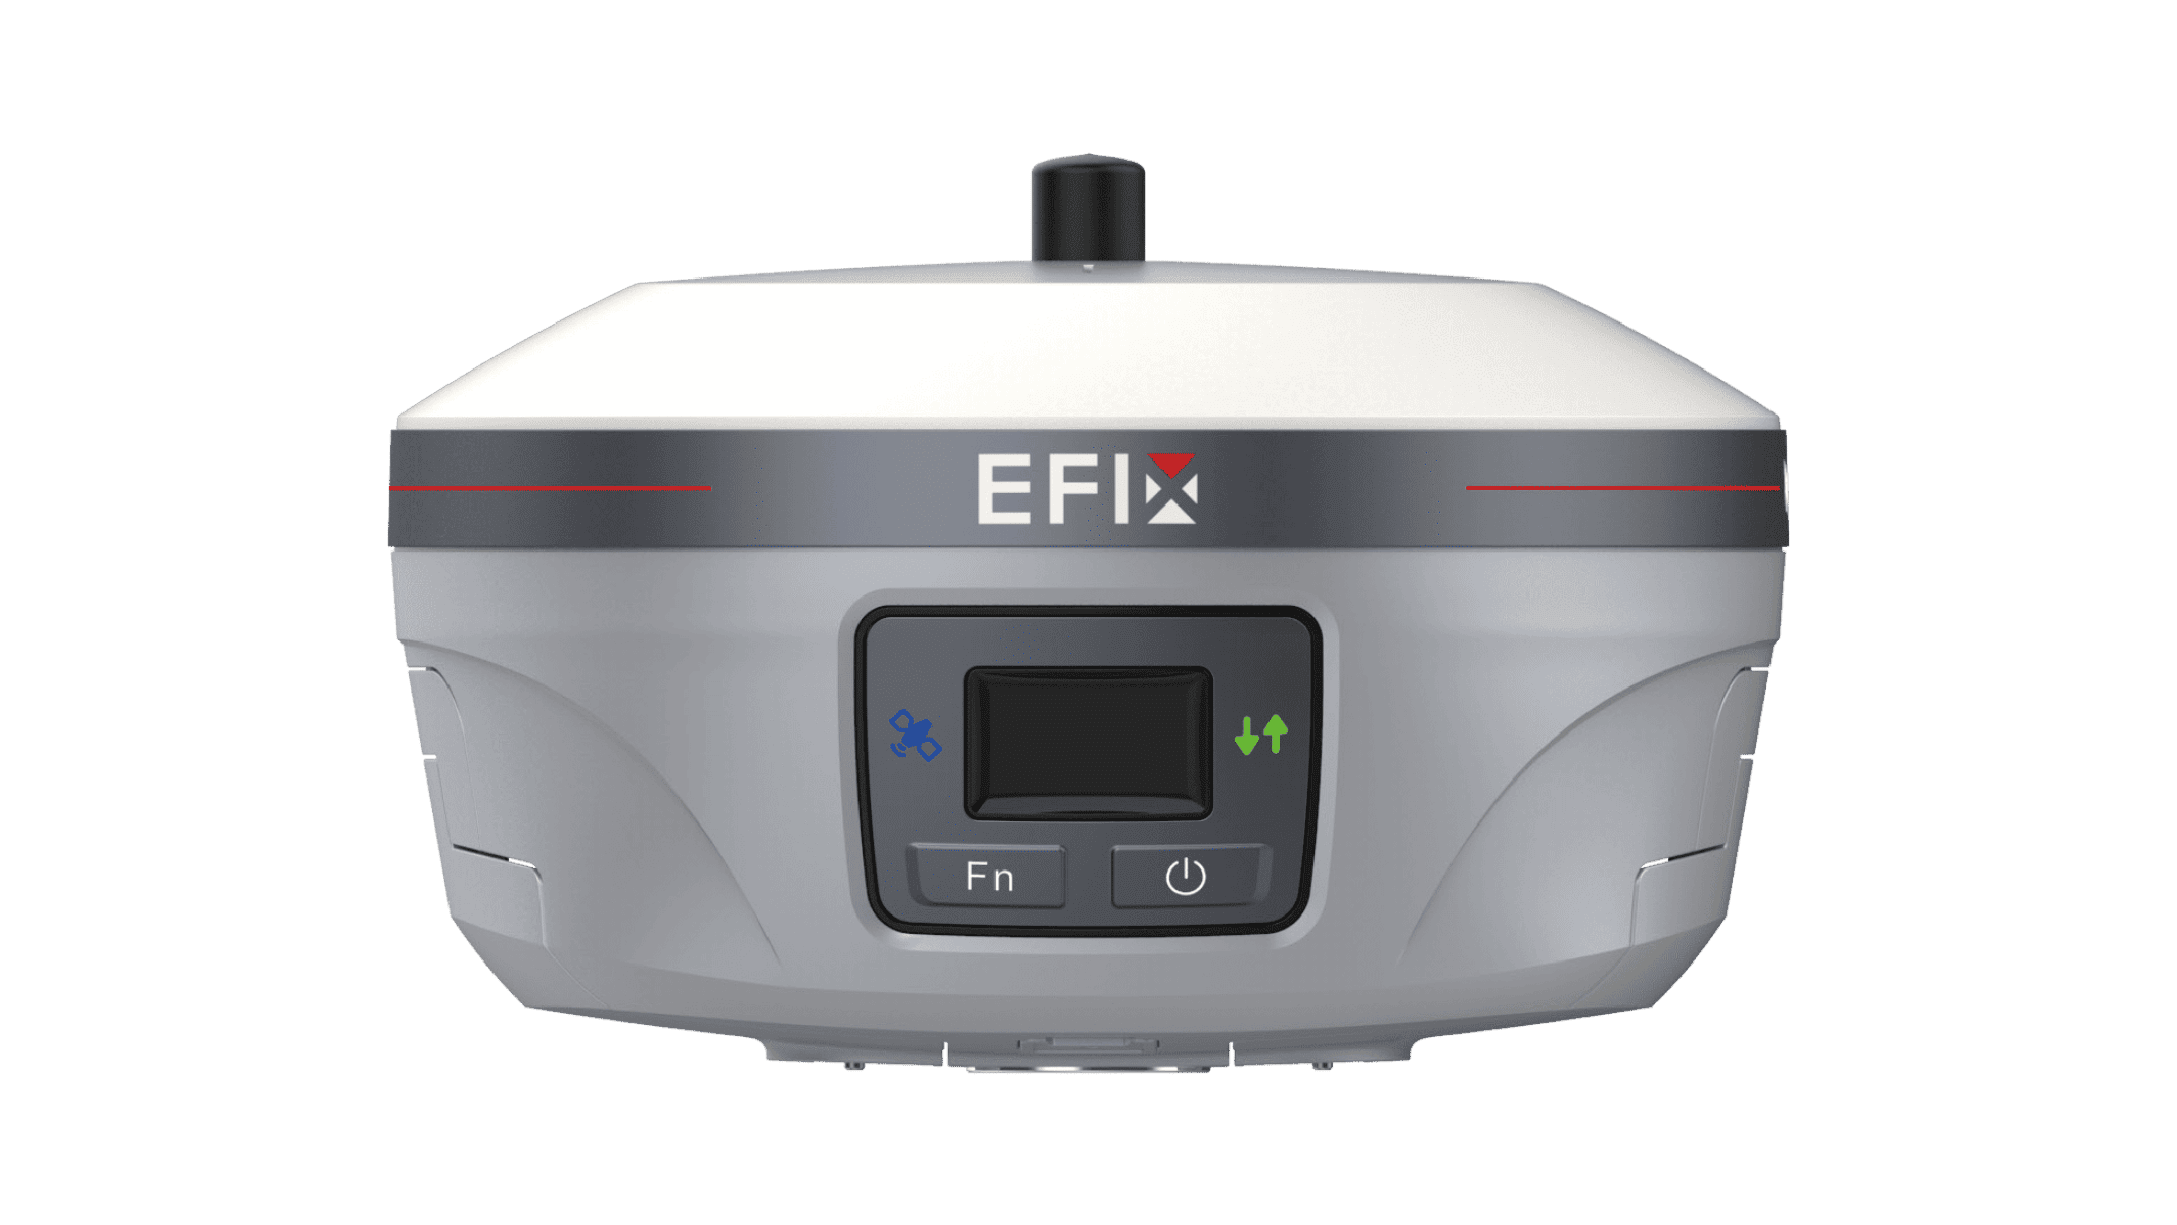
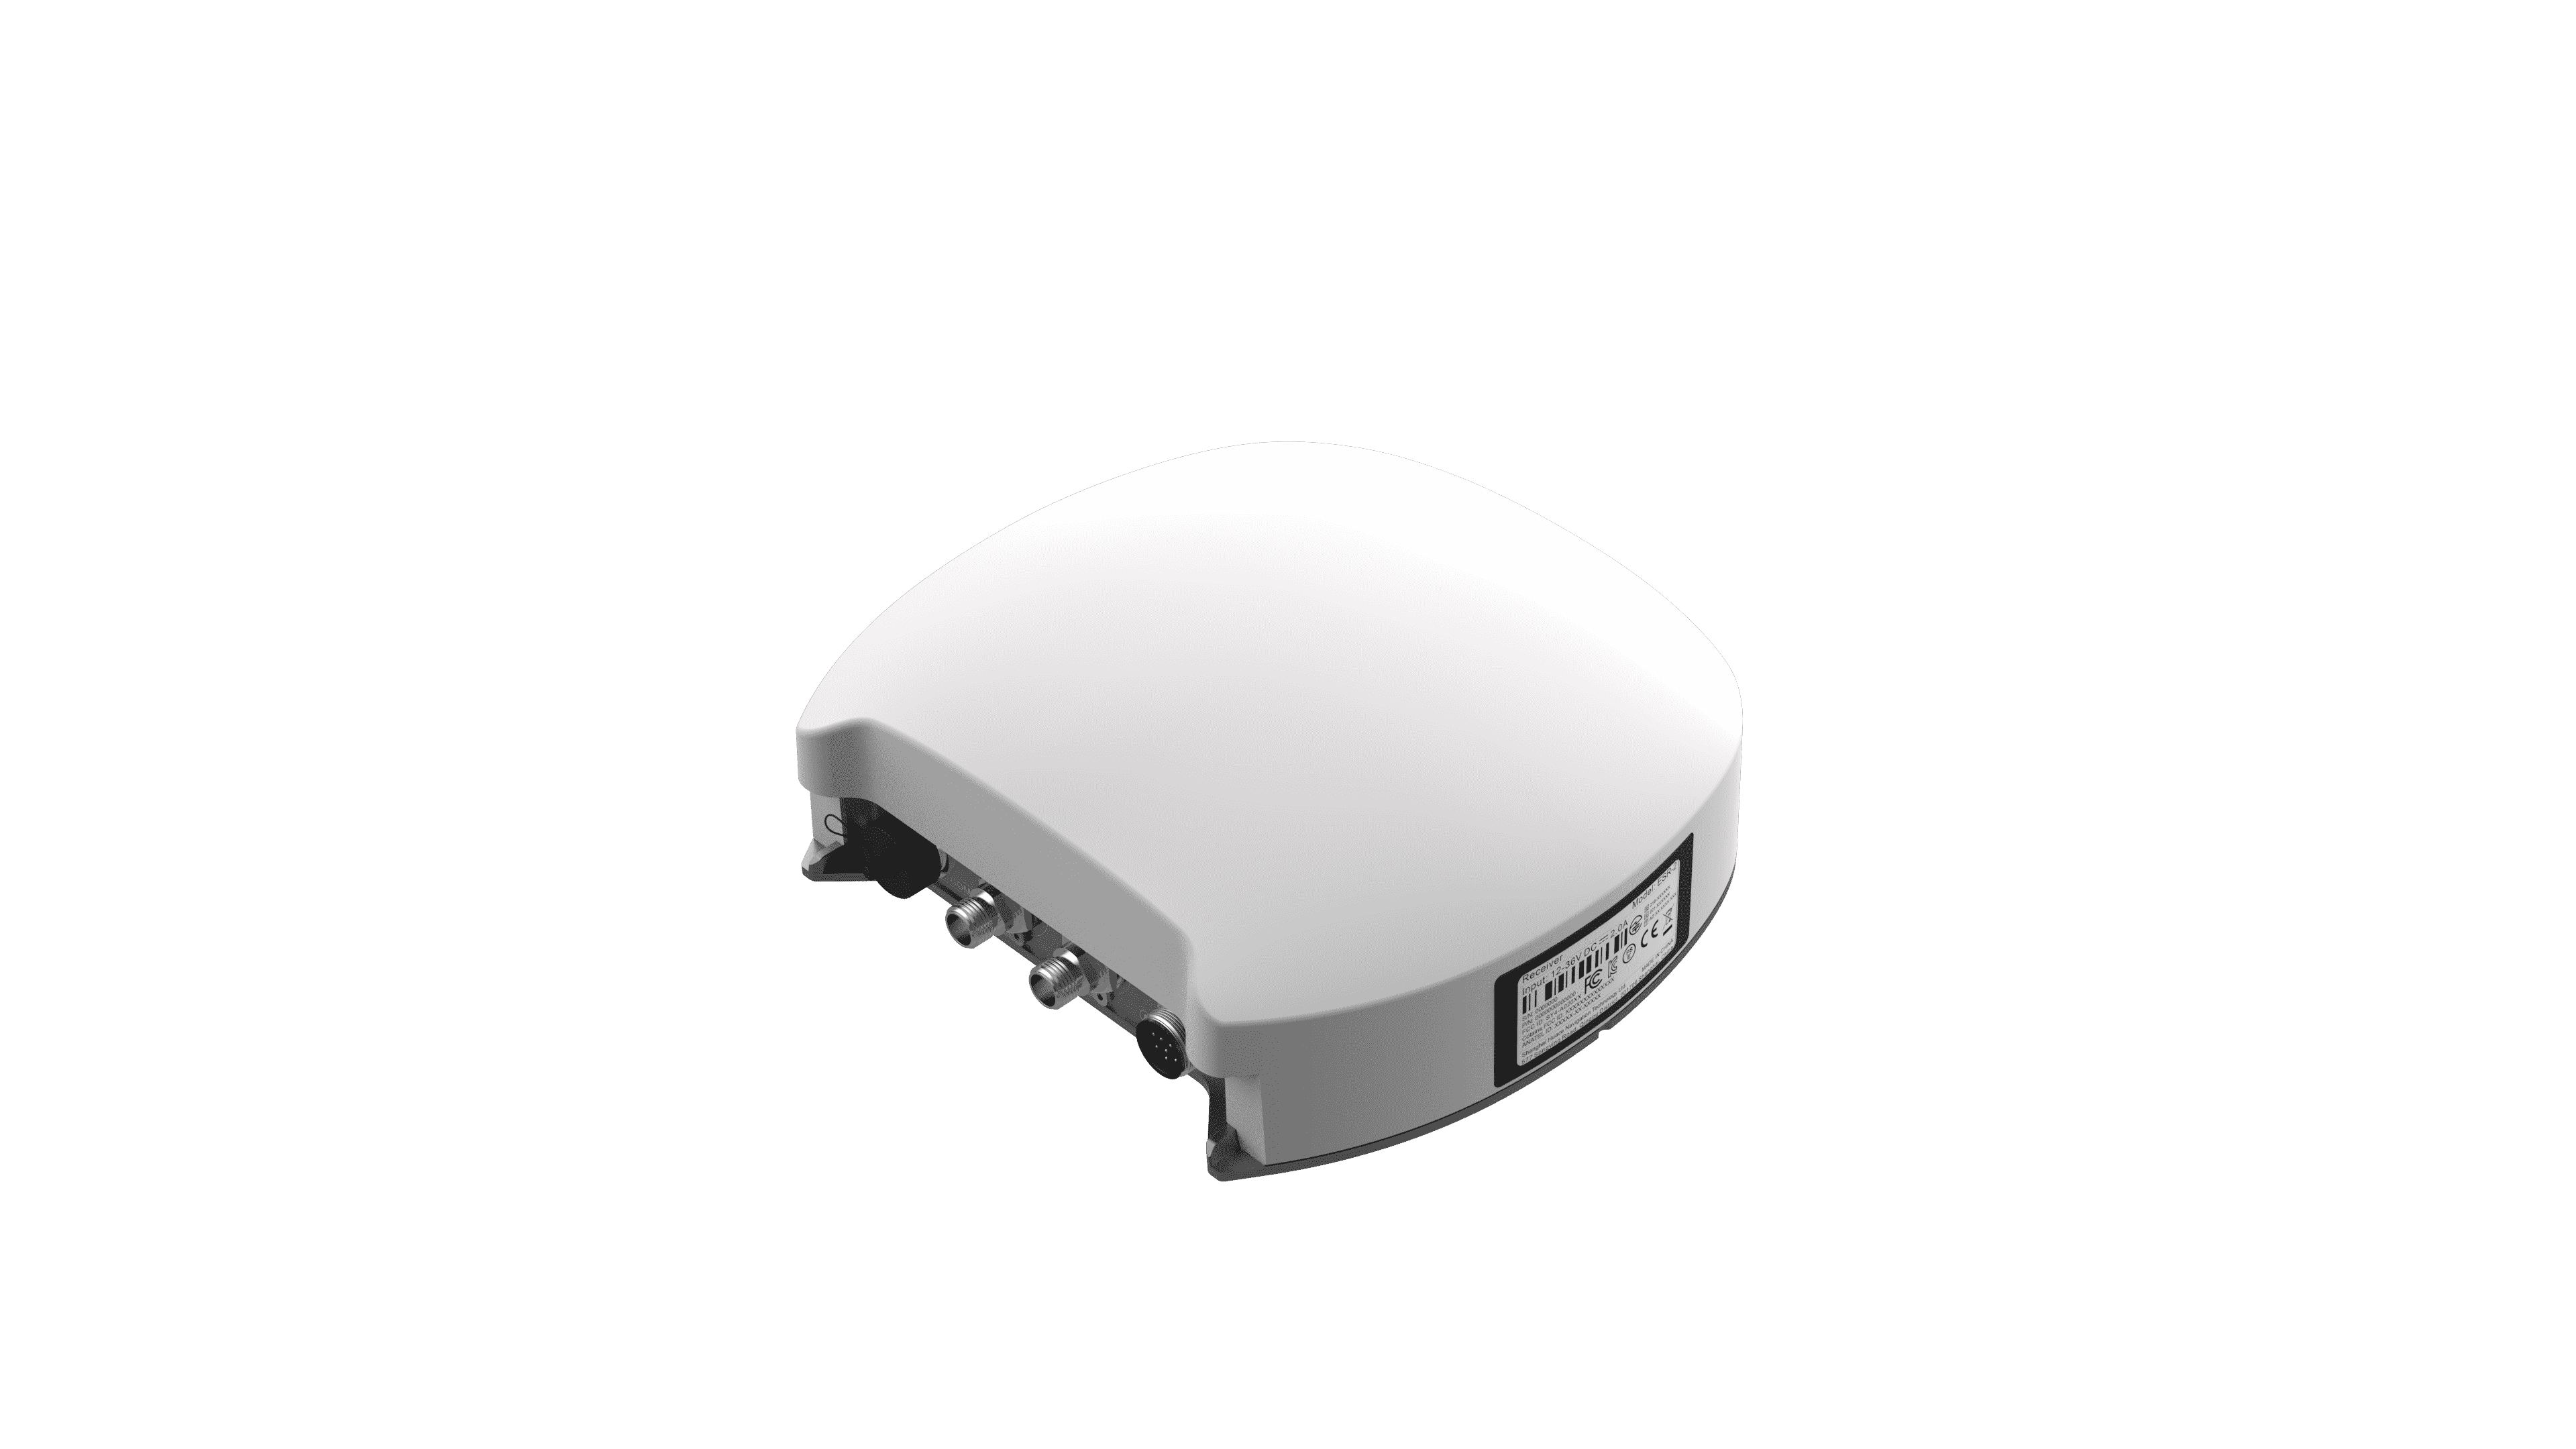
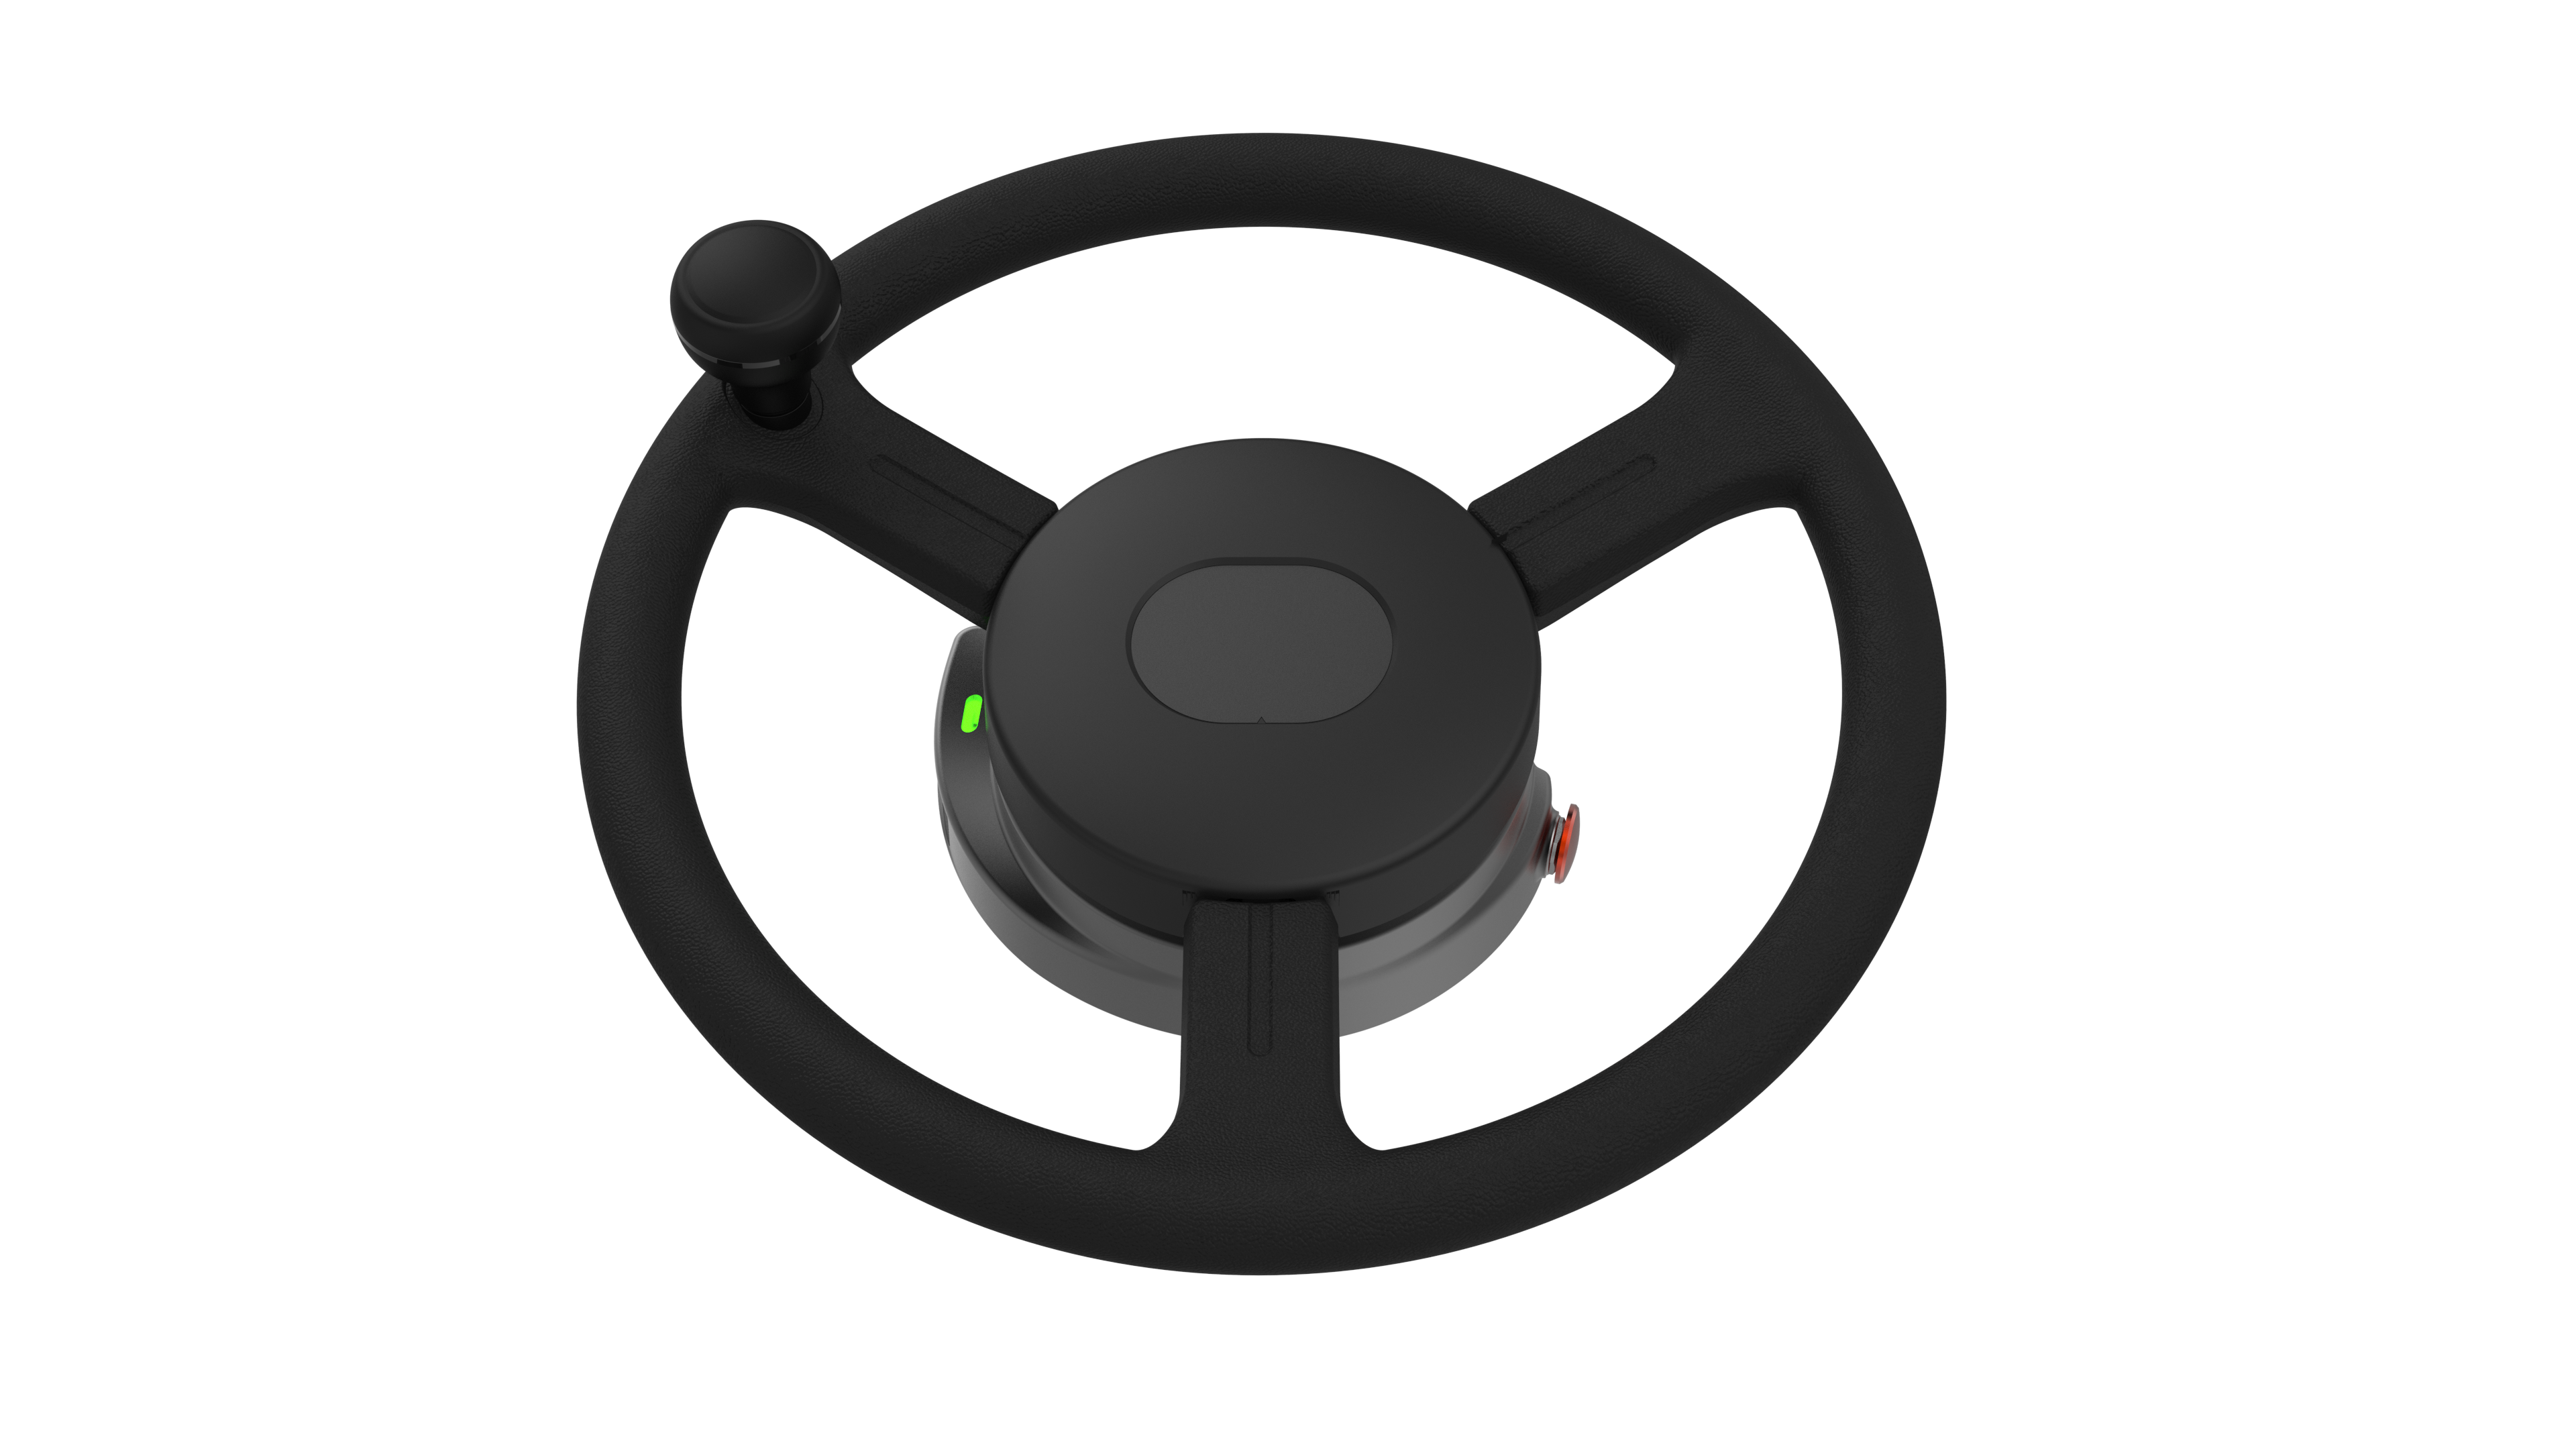
The next step involves mounting the components of your auto steer system. Begin with the installation of the GPS antenna, ensuring it is positioned on the roof of the tractor for optimal signal reception. Follow the guidelines provided in your installation kit for correct placement. Next, mount the steering actuator on the tractor’s steering column. Make sure it is securely fastened; a loose actuator can lead to failures in steering precision. It’s important to route all wiring cleanly and securely to avoid tangling or damage during normal operation. Each component should be properly aligned and secured, as this lays the groundwork for the system’s functionality.
Configuring the System
After mounting, configuring the auto steer system becomes the focus. This configuration typically involves calibrating the system through the provided software or interface. Begin by entering your tractor's specifications and the desired operating parameters. Calibration usually requires driving the tractor in a straight line to allow the system to learn the steering characteristics. If your system includes an advanced user interface, take the time to familiarize yourself with its features and capabilities. Proper configuration ensures that the system operates smoothly and can maintain accurate steering paths even in diverse field conditions.
Testing and Troubleshooting
With the installation and configuration done, it’s time to test the auto steer system. Take the tractor out into the field to perform a few practice runs. Monitor the system closely during its operation for any irregularities or unexpected behaviors. If issues arise, refer to the troubleshooting section of your manual. Common problems can often be resolved by double-checking the configuration settings or ensuring all connections are intact. Testing your system thoroughly before long operational hours will save time and ensure effective performance once in the field.
Conclusion
Successfully installing an auto steer system can transform the way you work with your tractor, enhancing both efficiency and comfort. It takes careful preparation, precise mounting, and thoughtful configuration to achieve optimal results. Utilizing the eSteer20 Max system can provide unparalleled accuracy across various speeds, allowing for seamless navigation in the field. At EFIX, we remain committed to equipping farmers with the best tools and technologies, ensuring a productive and rewarding experience in modern agriculture.