Achieving precise field navigation and enhanced operational efficiency in modern agriculture is essential. An RTK auto steer system can drastically improve your tractor's performance, ensuring that you maximize crop yields while minimizing input costs. Effective installation of this technology is crucial for harnessing its full potential. Here’s a detailed guide on how to install an RTK auto steer system on your tractor.
Understanding RTK Auto Steer Systems
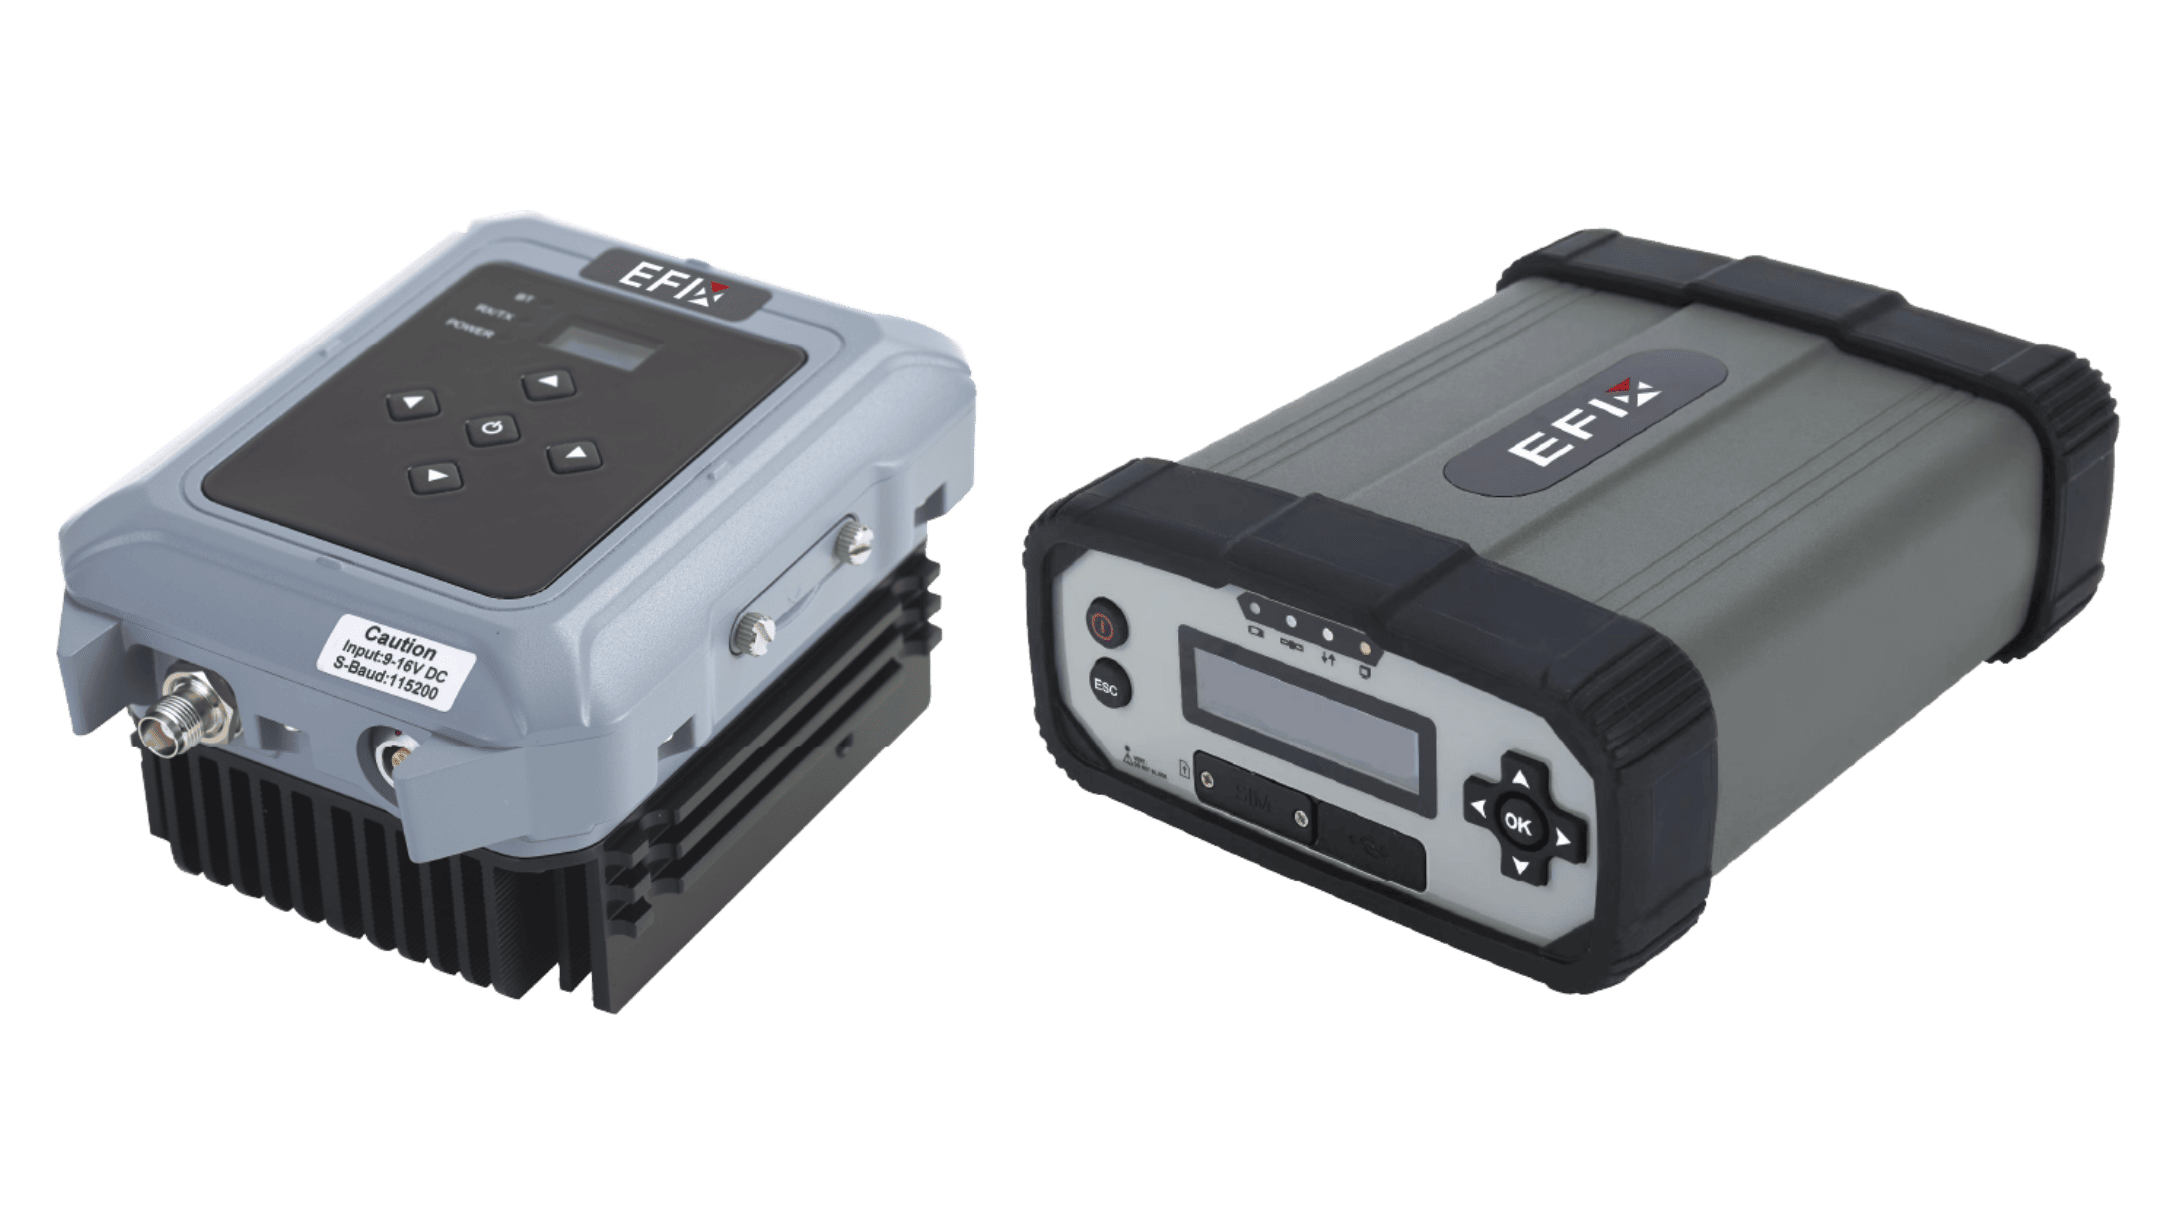
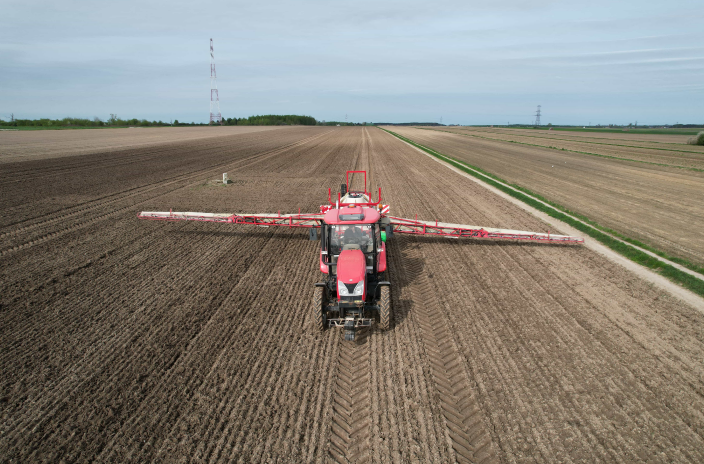
The RTK auto steer system utilizes Real-Time Kinematic (RTK) technology to provide sub-inch accuracy for vehicle navigation. This system relies on a network of fixed reference stations that communicate with a mobile unit on the tractor, allowing it to receive real-time corrections and enhance positioning accuracy. Notably, an RTK auto steer system can significantly reduce overlaps during spraying, cultivating, or planting, which translates into savings on inputs like seeds and fertilizers. Before you start the installation, ensure compliance with your tractor's requirements, and assess which components are necessary for your setup.
Essential Components for Installation
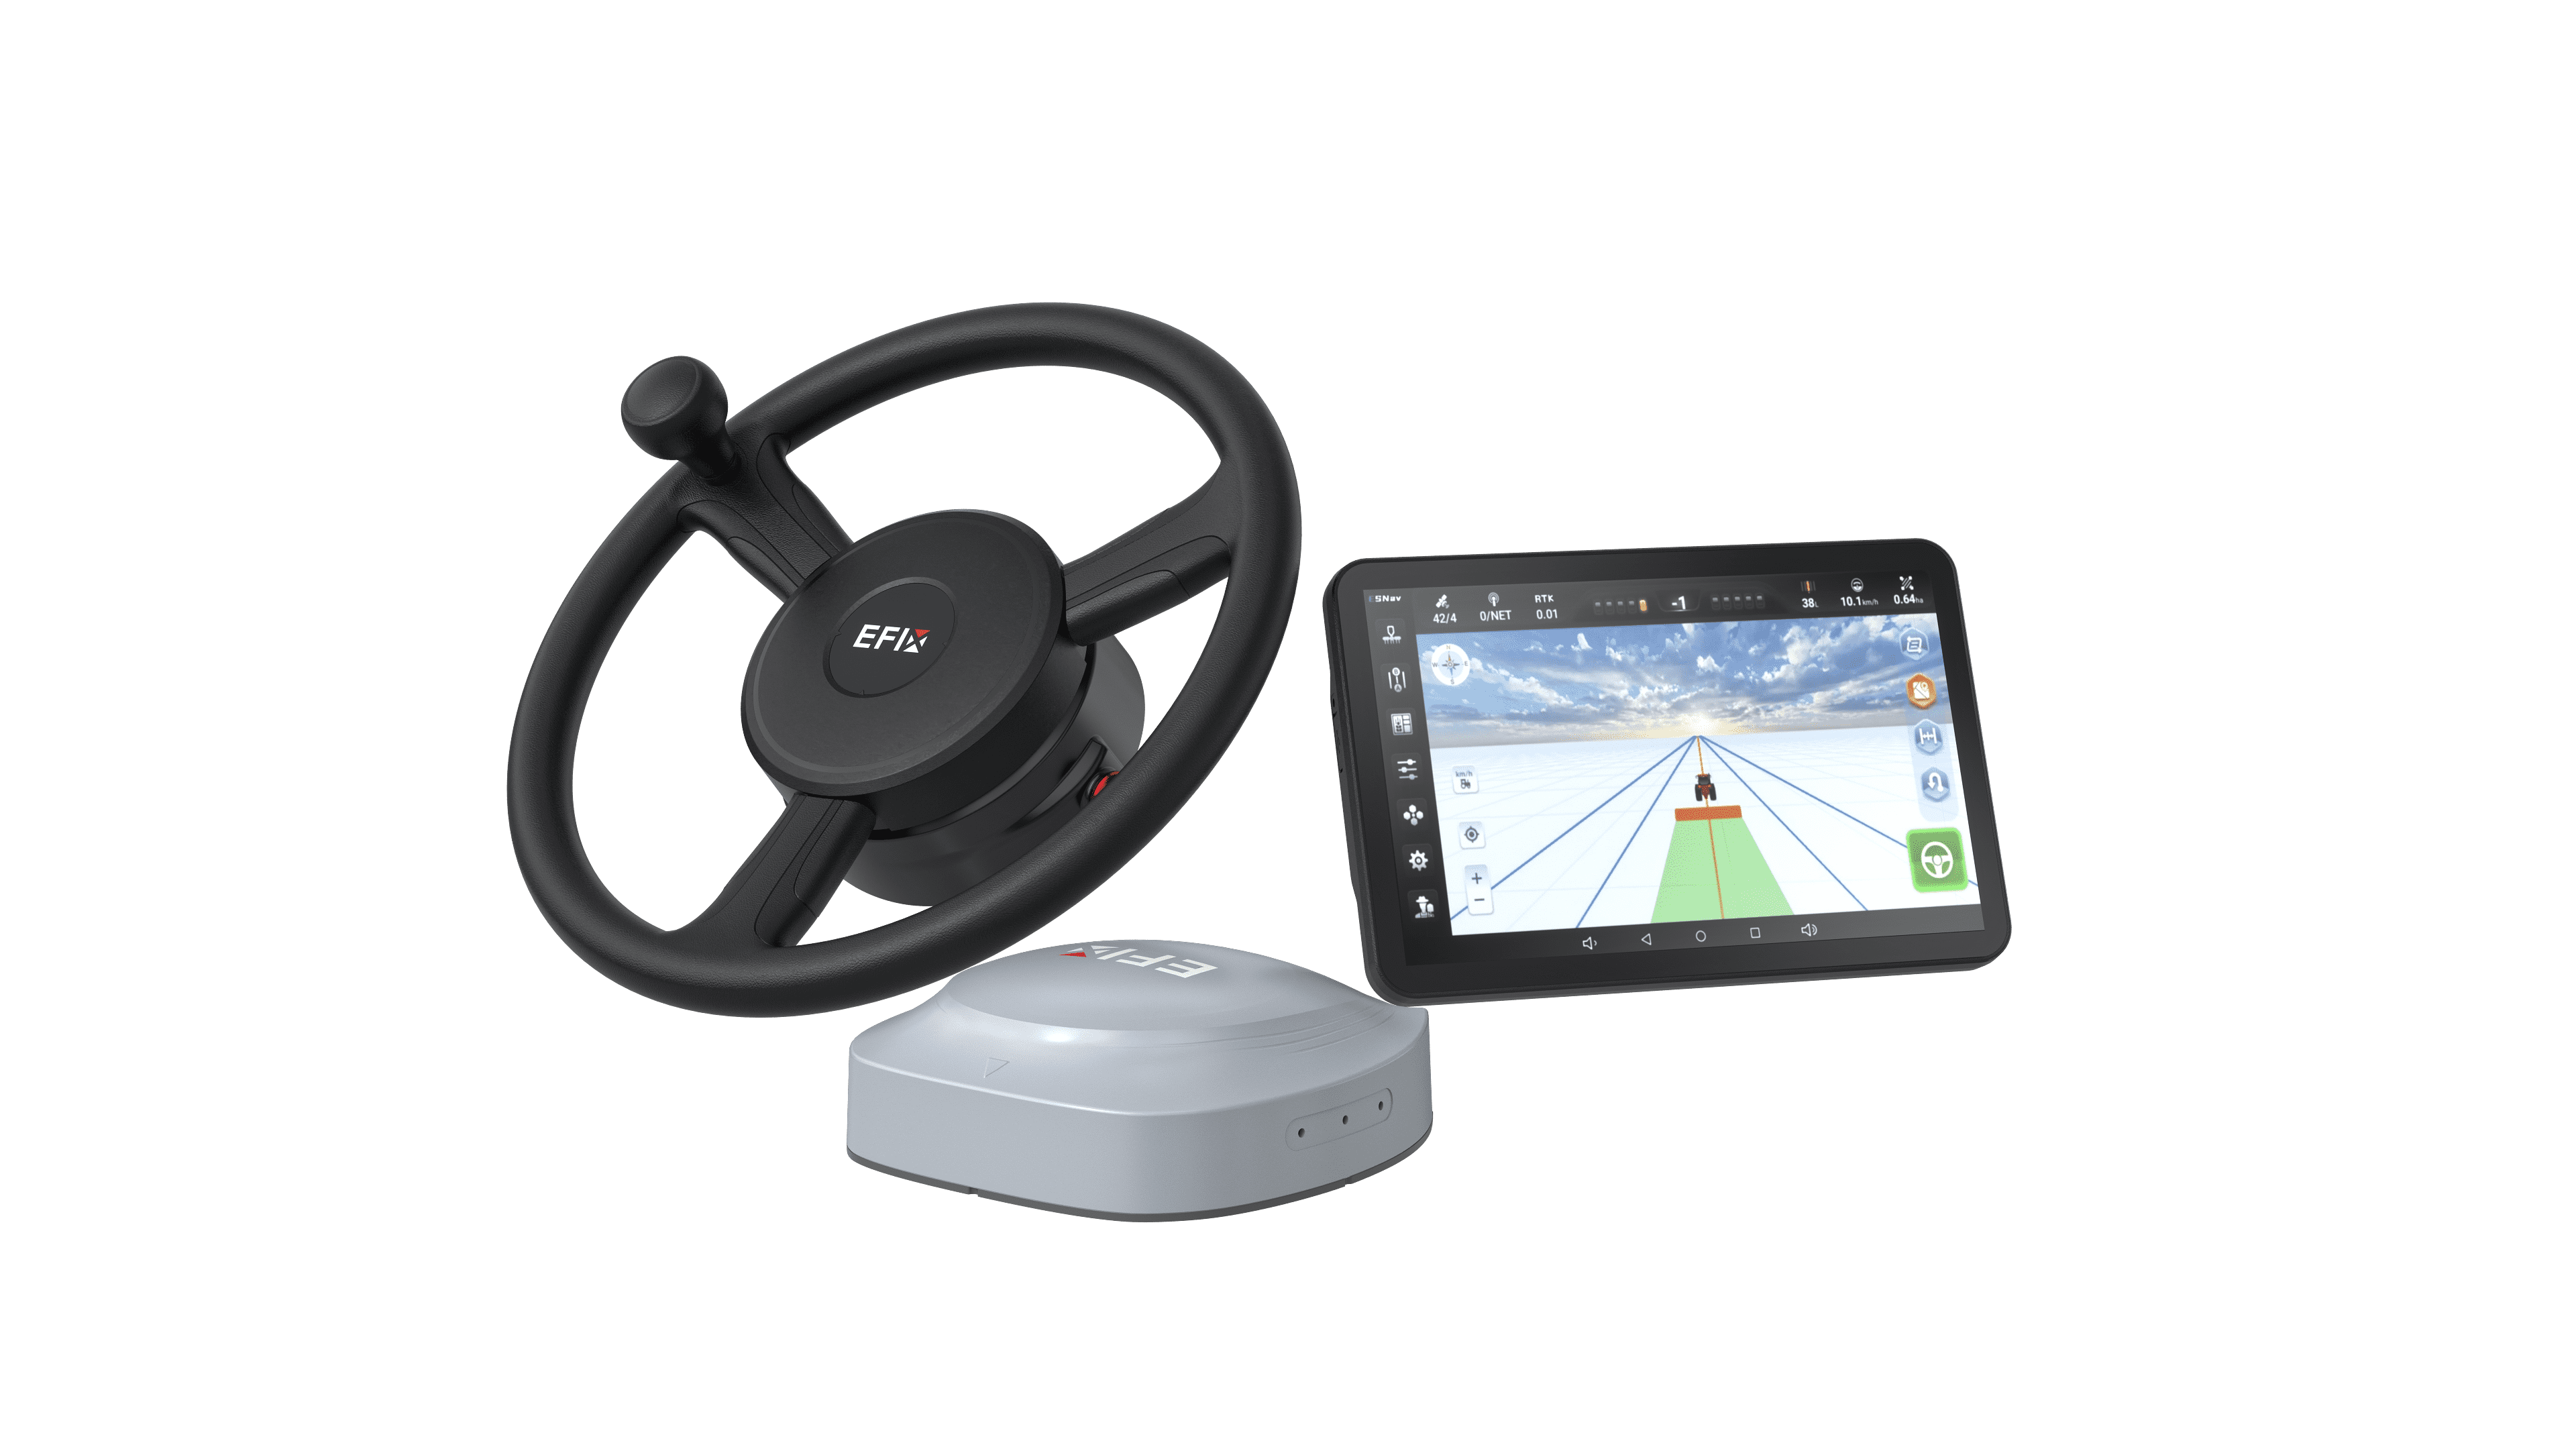
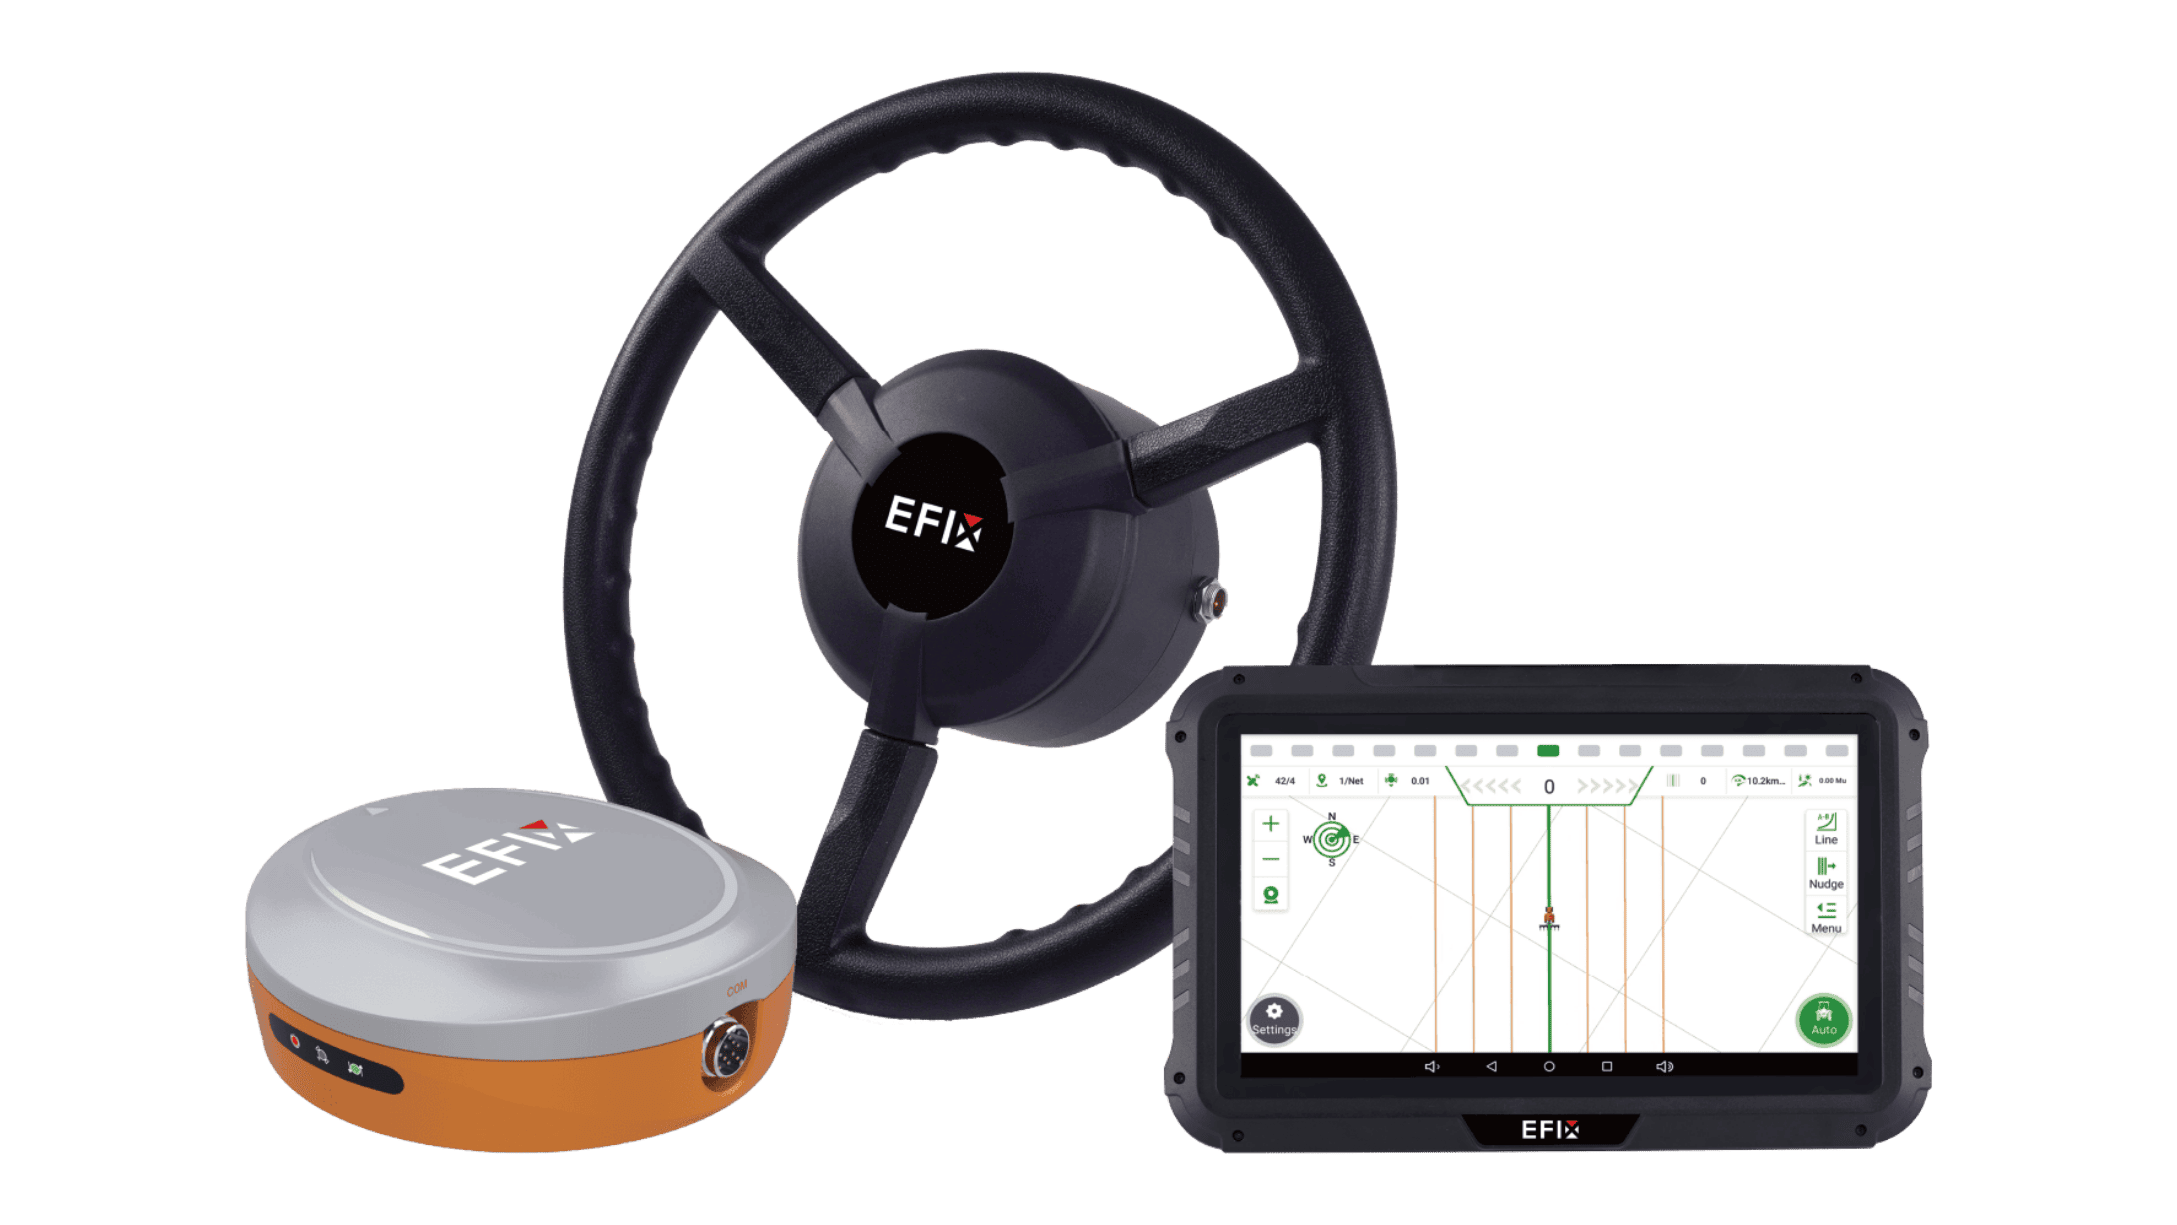
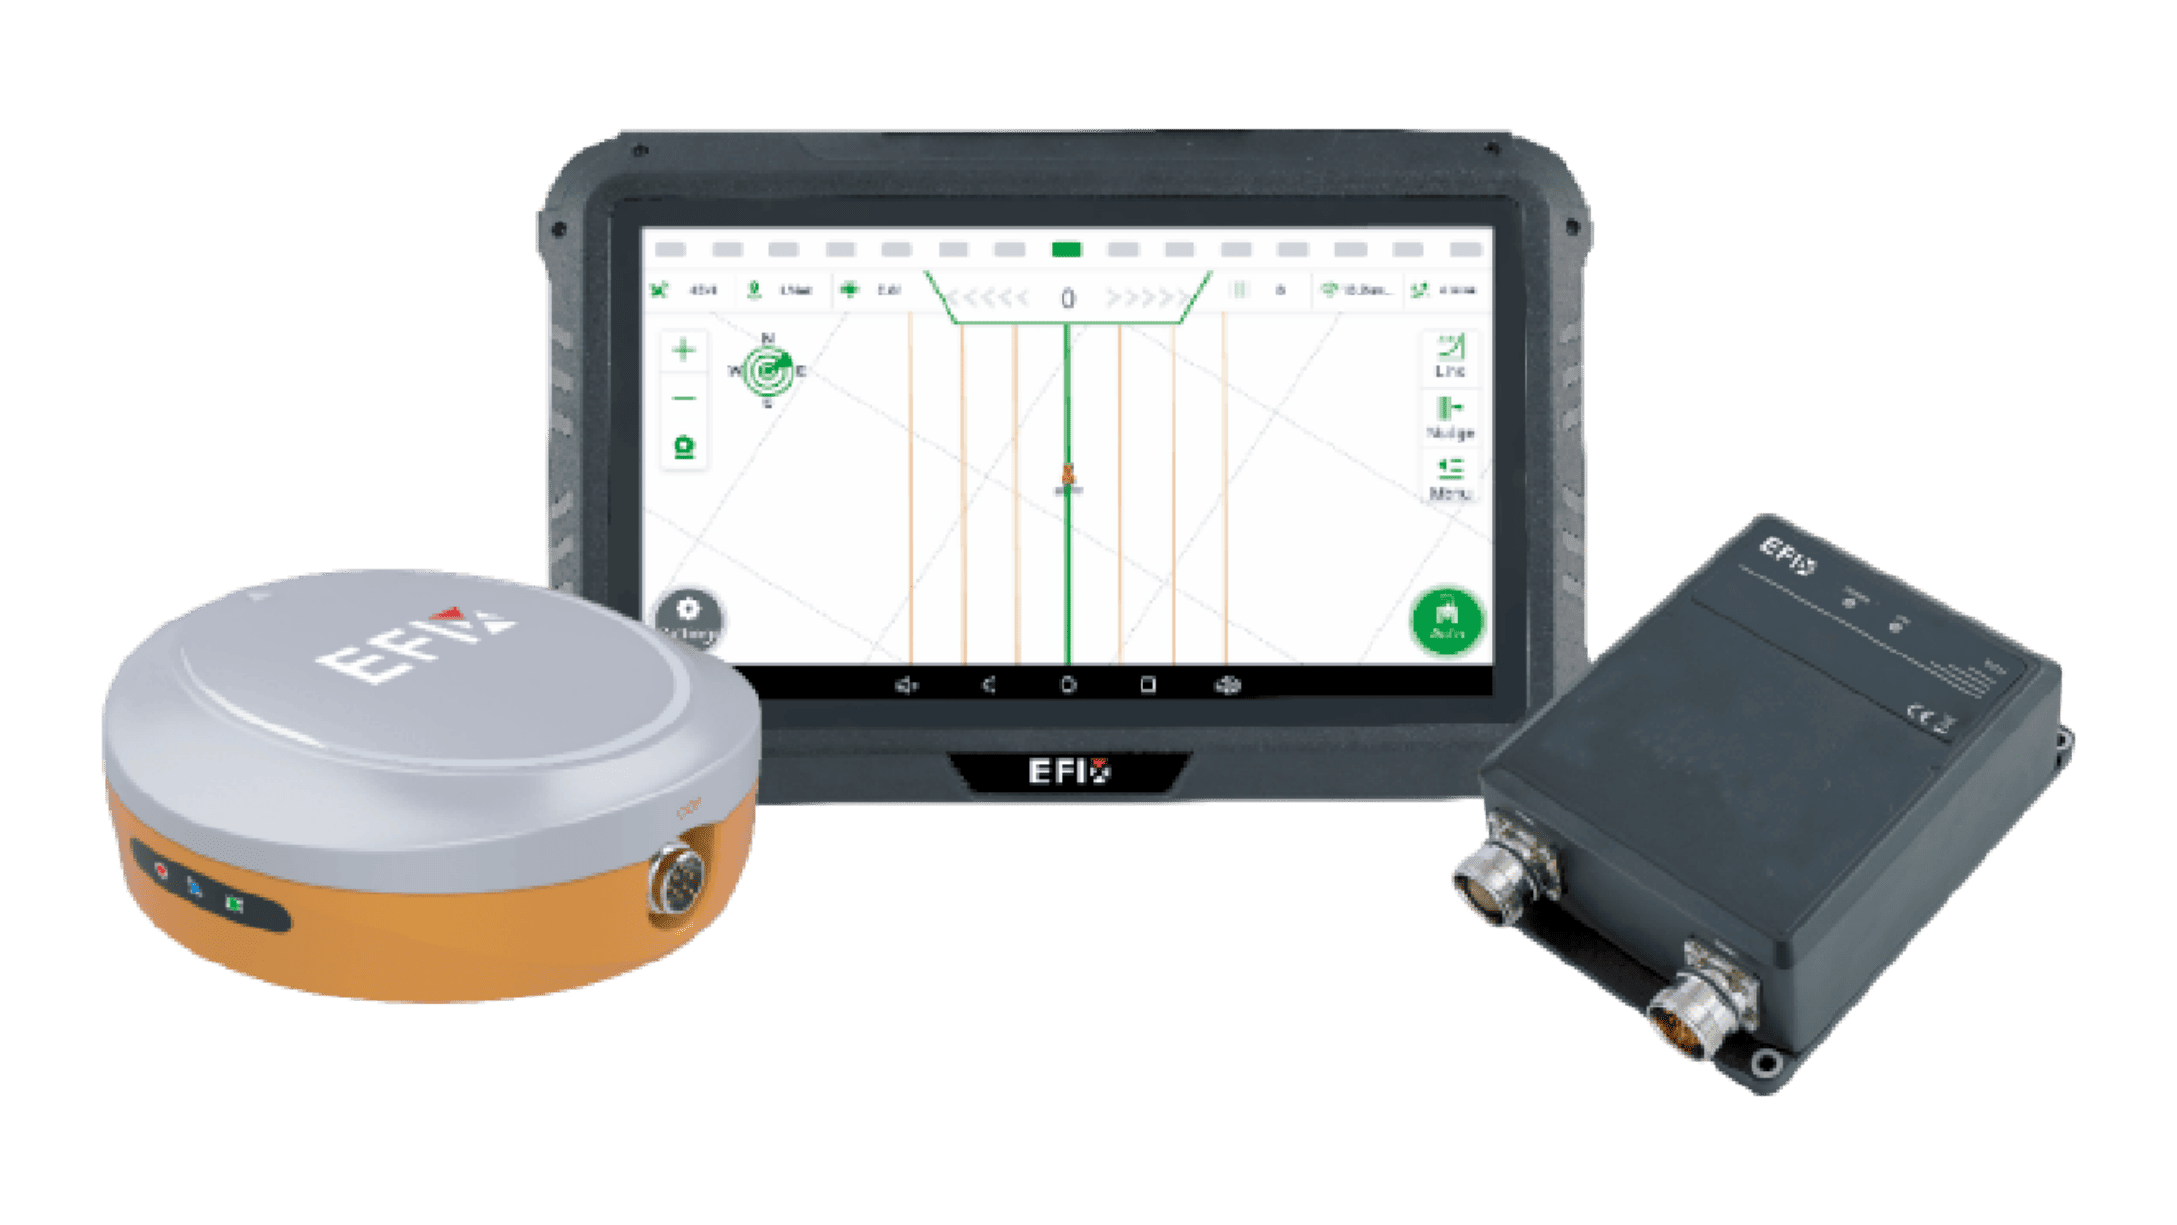
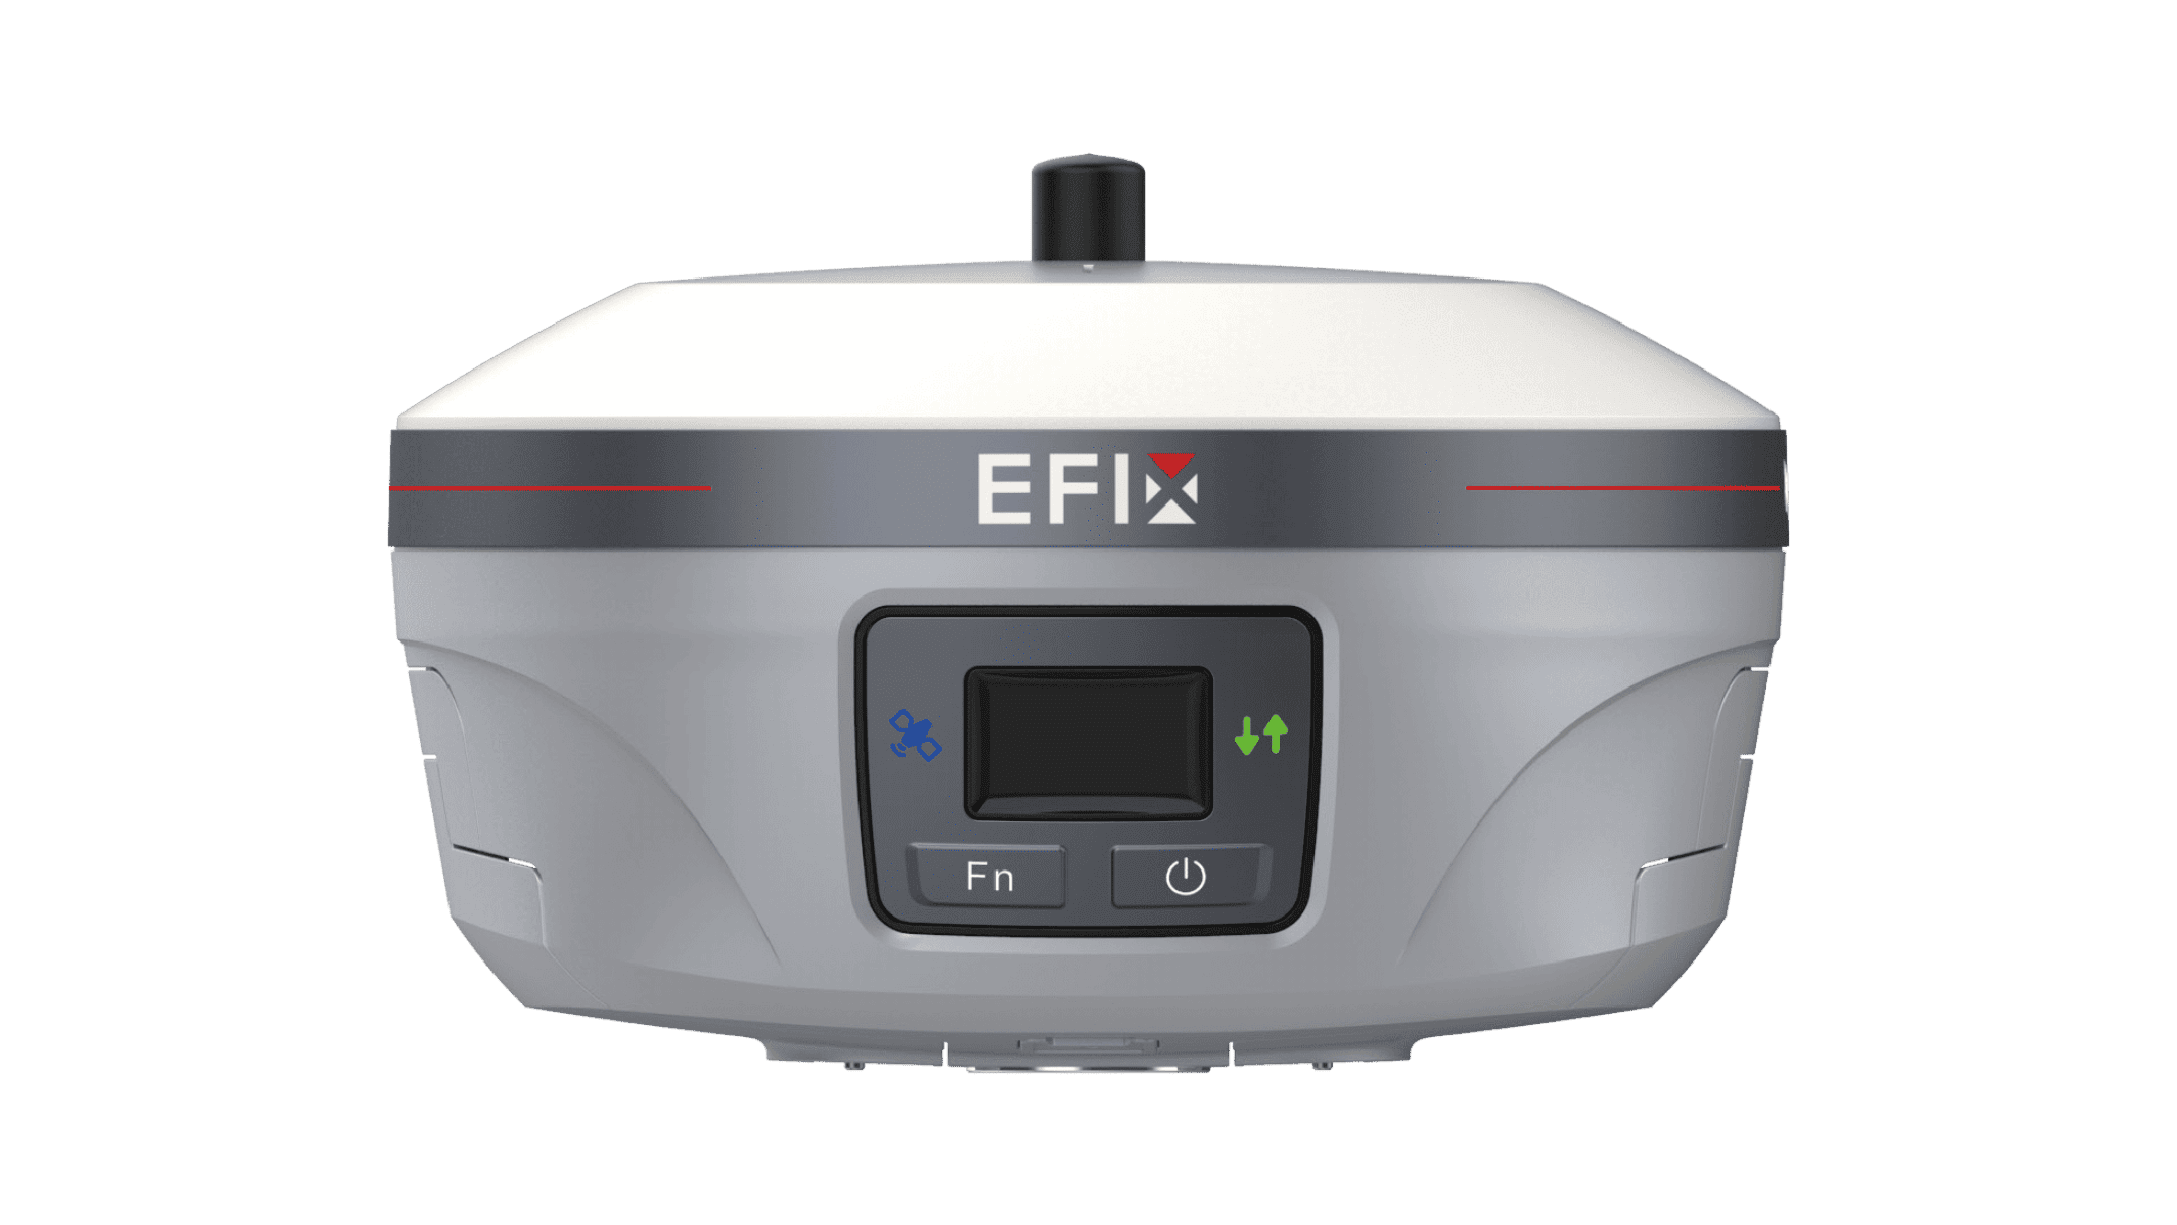
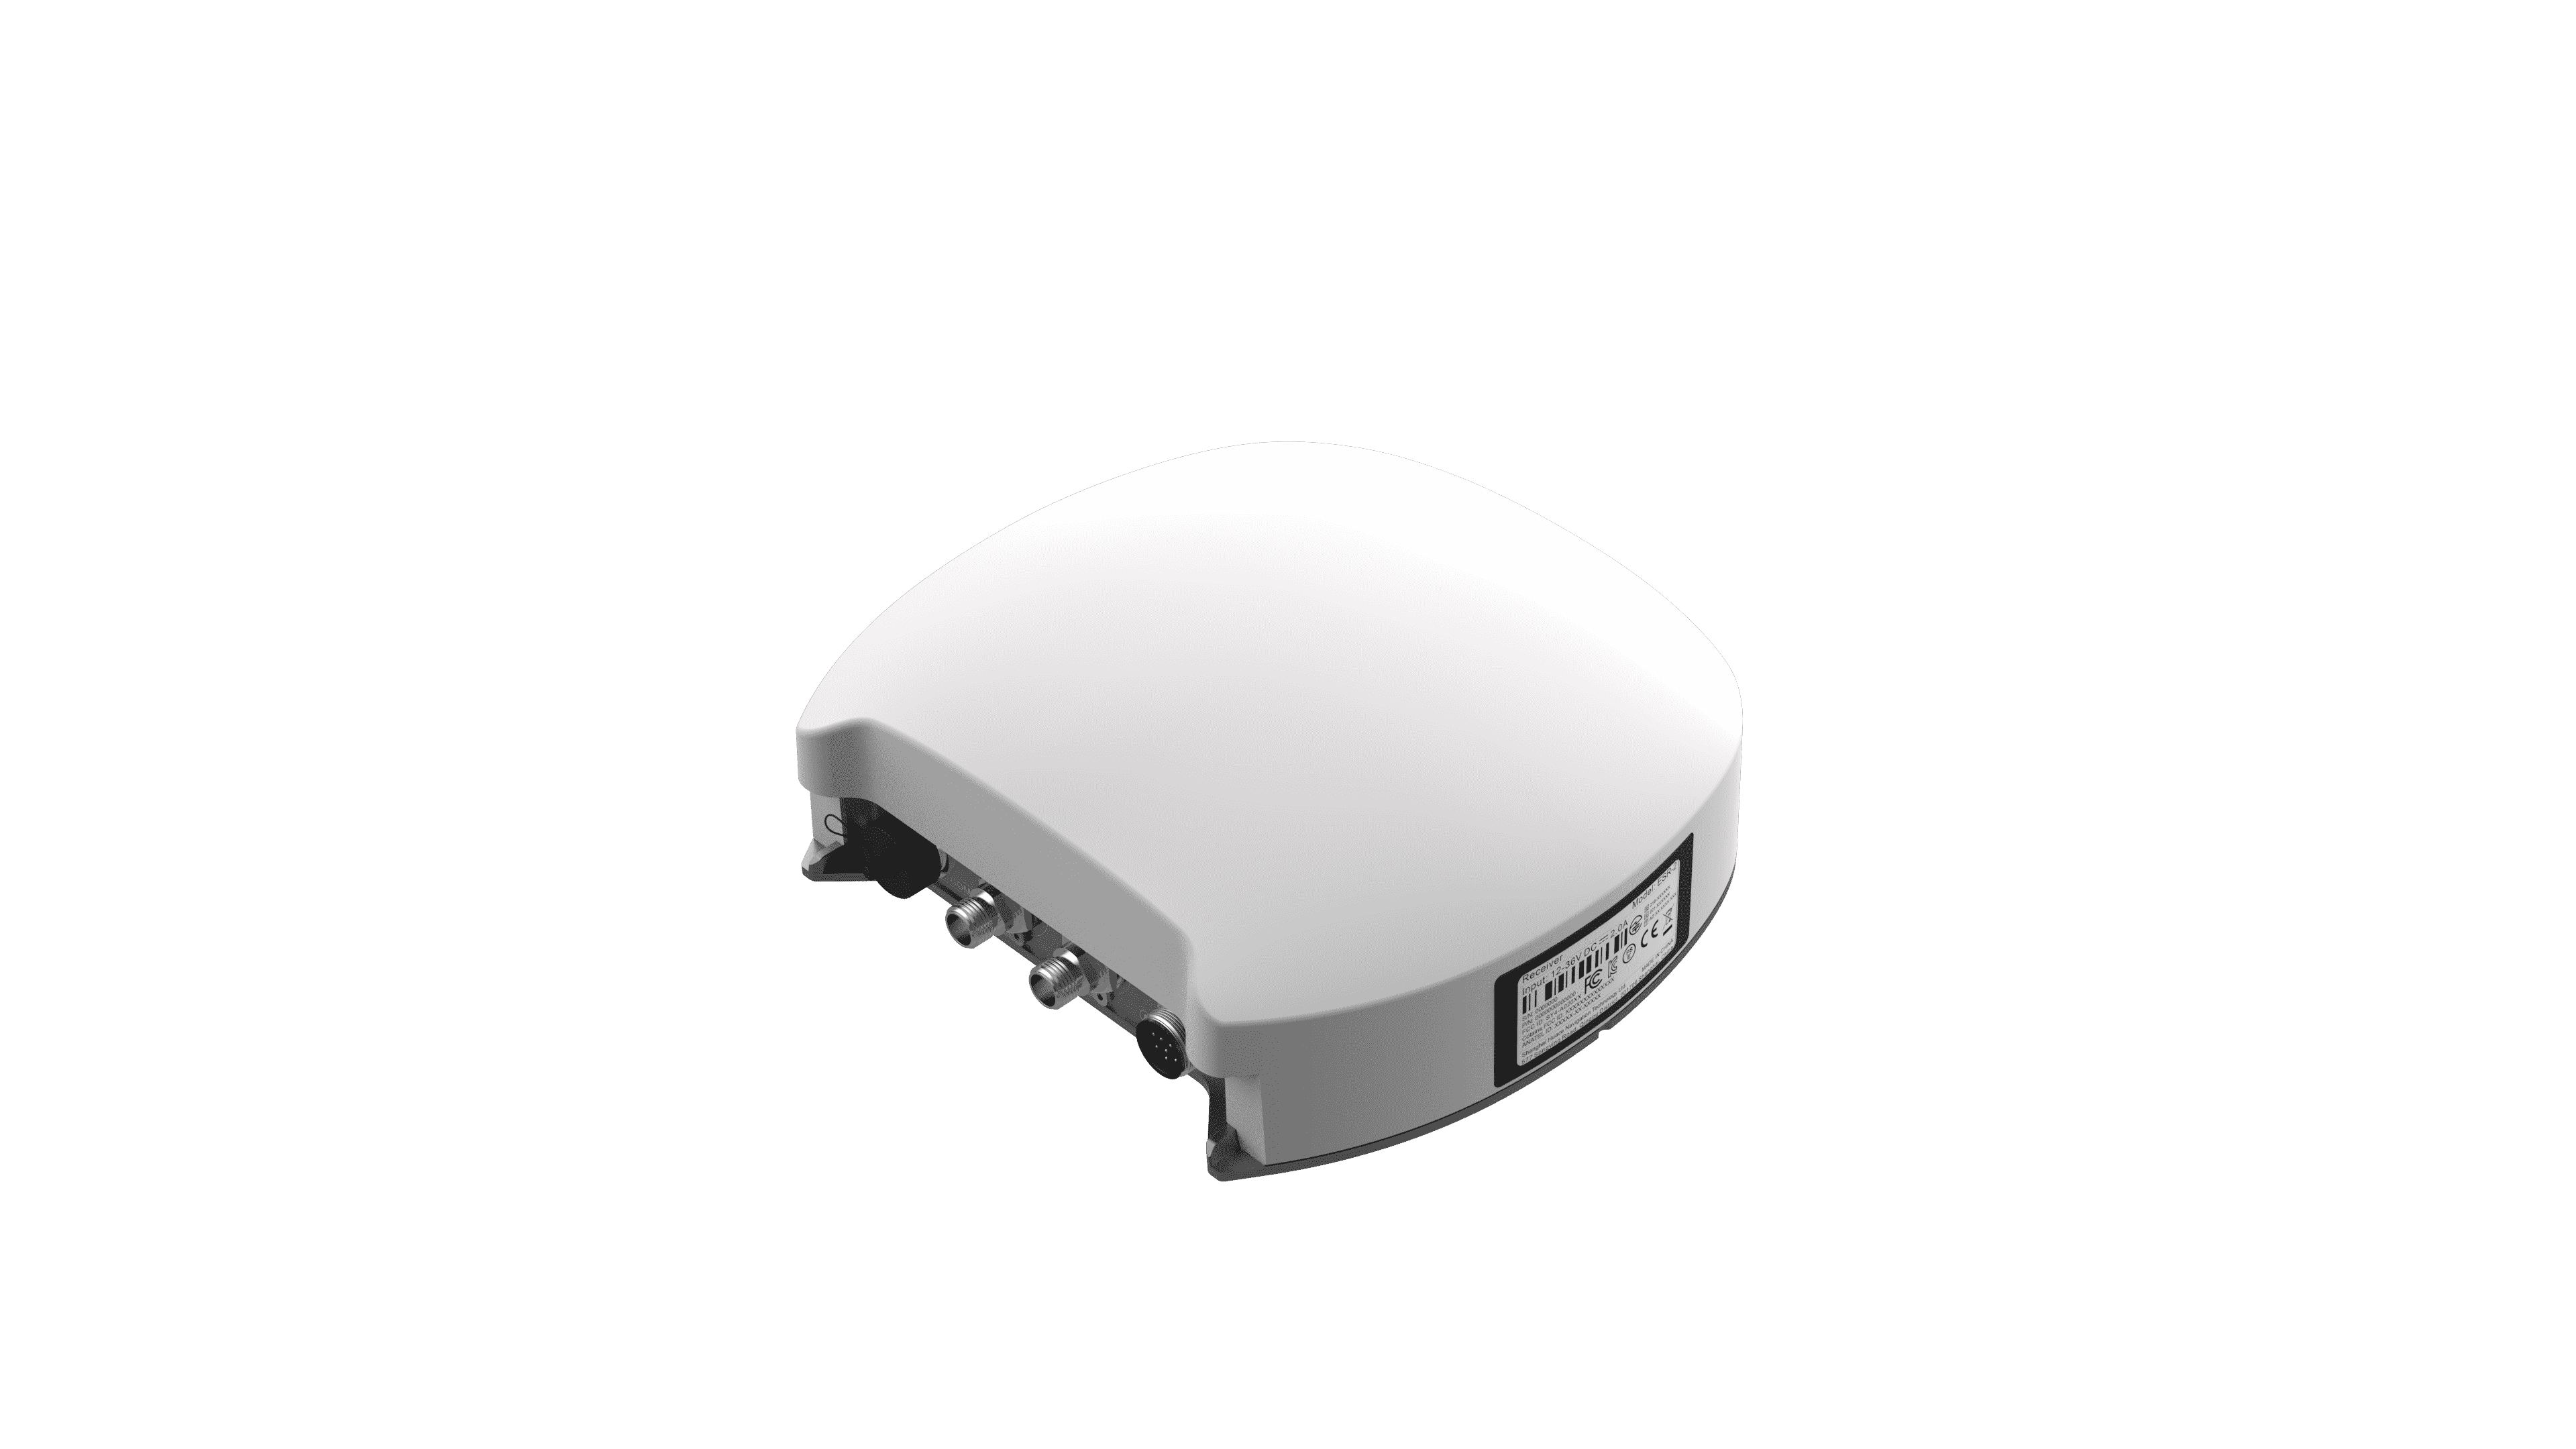
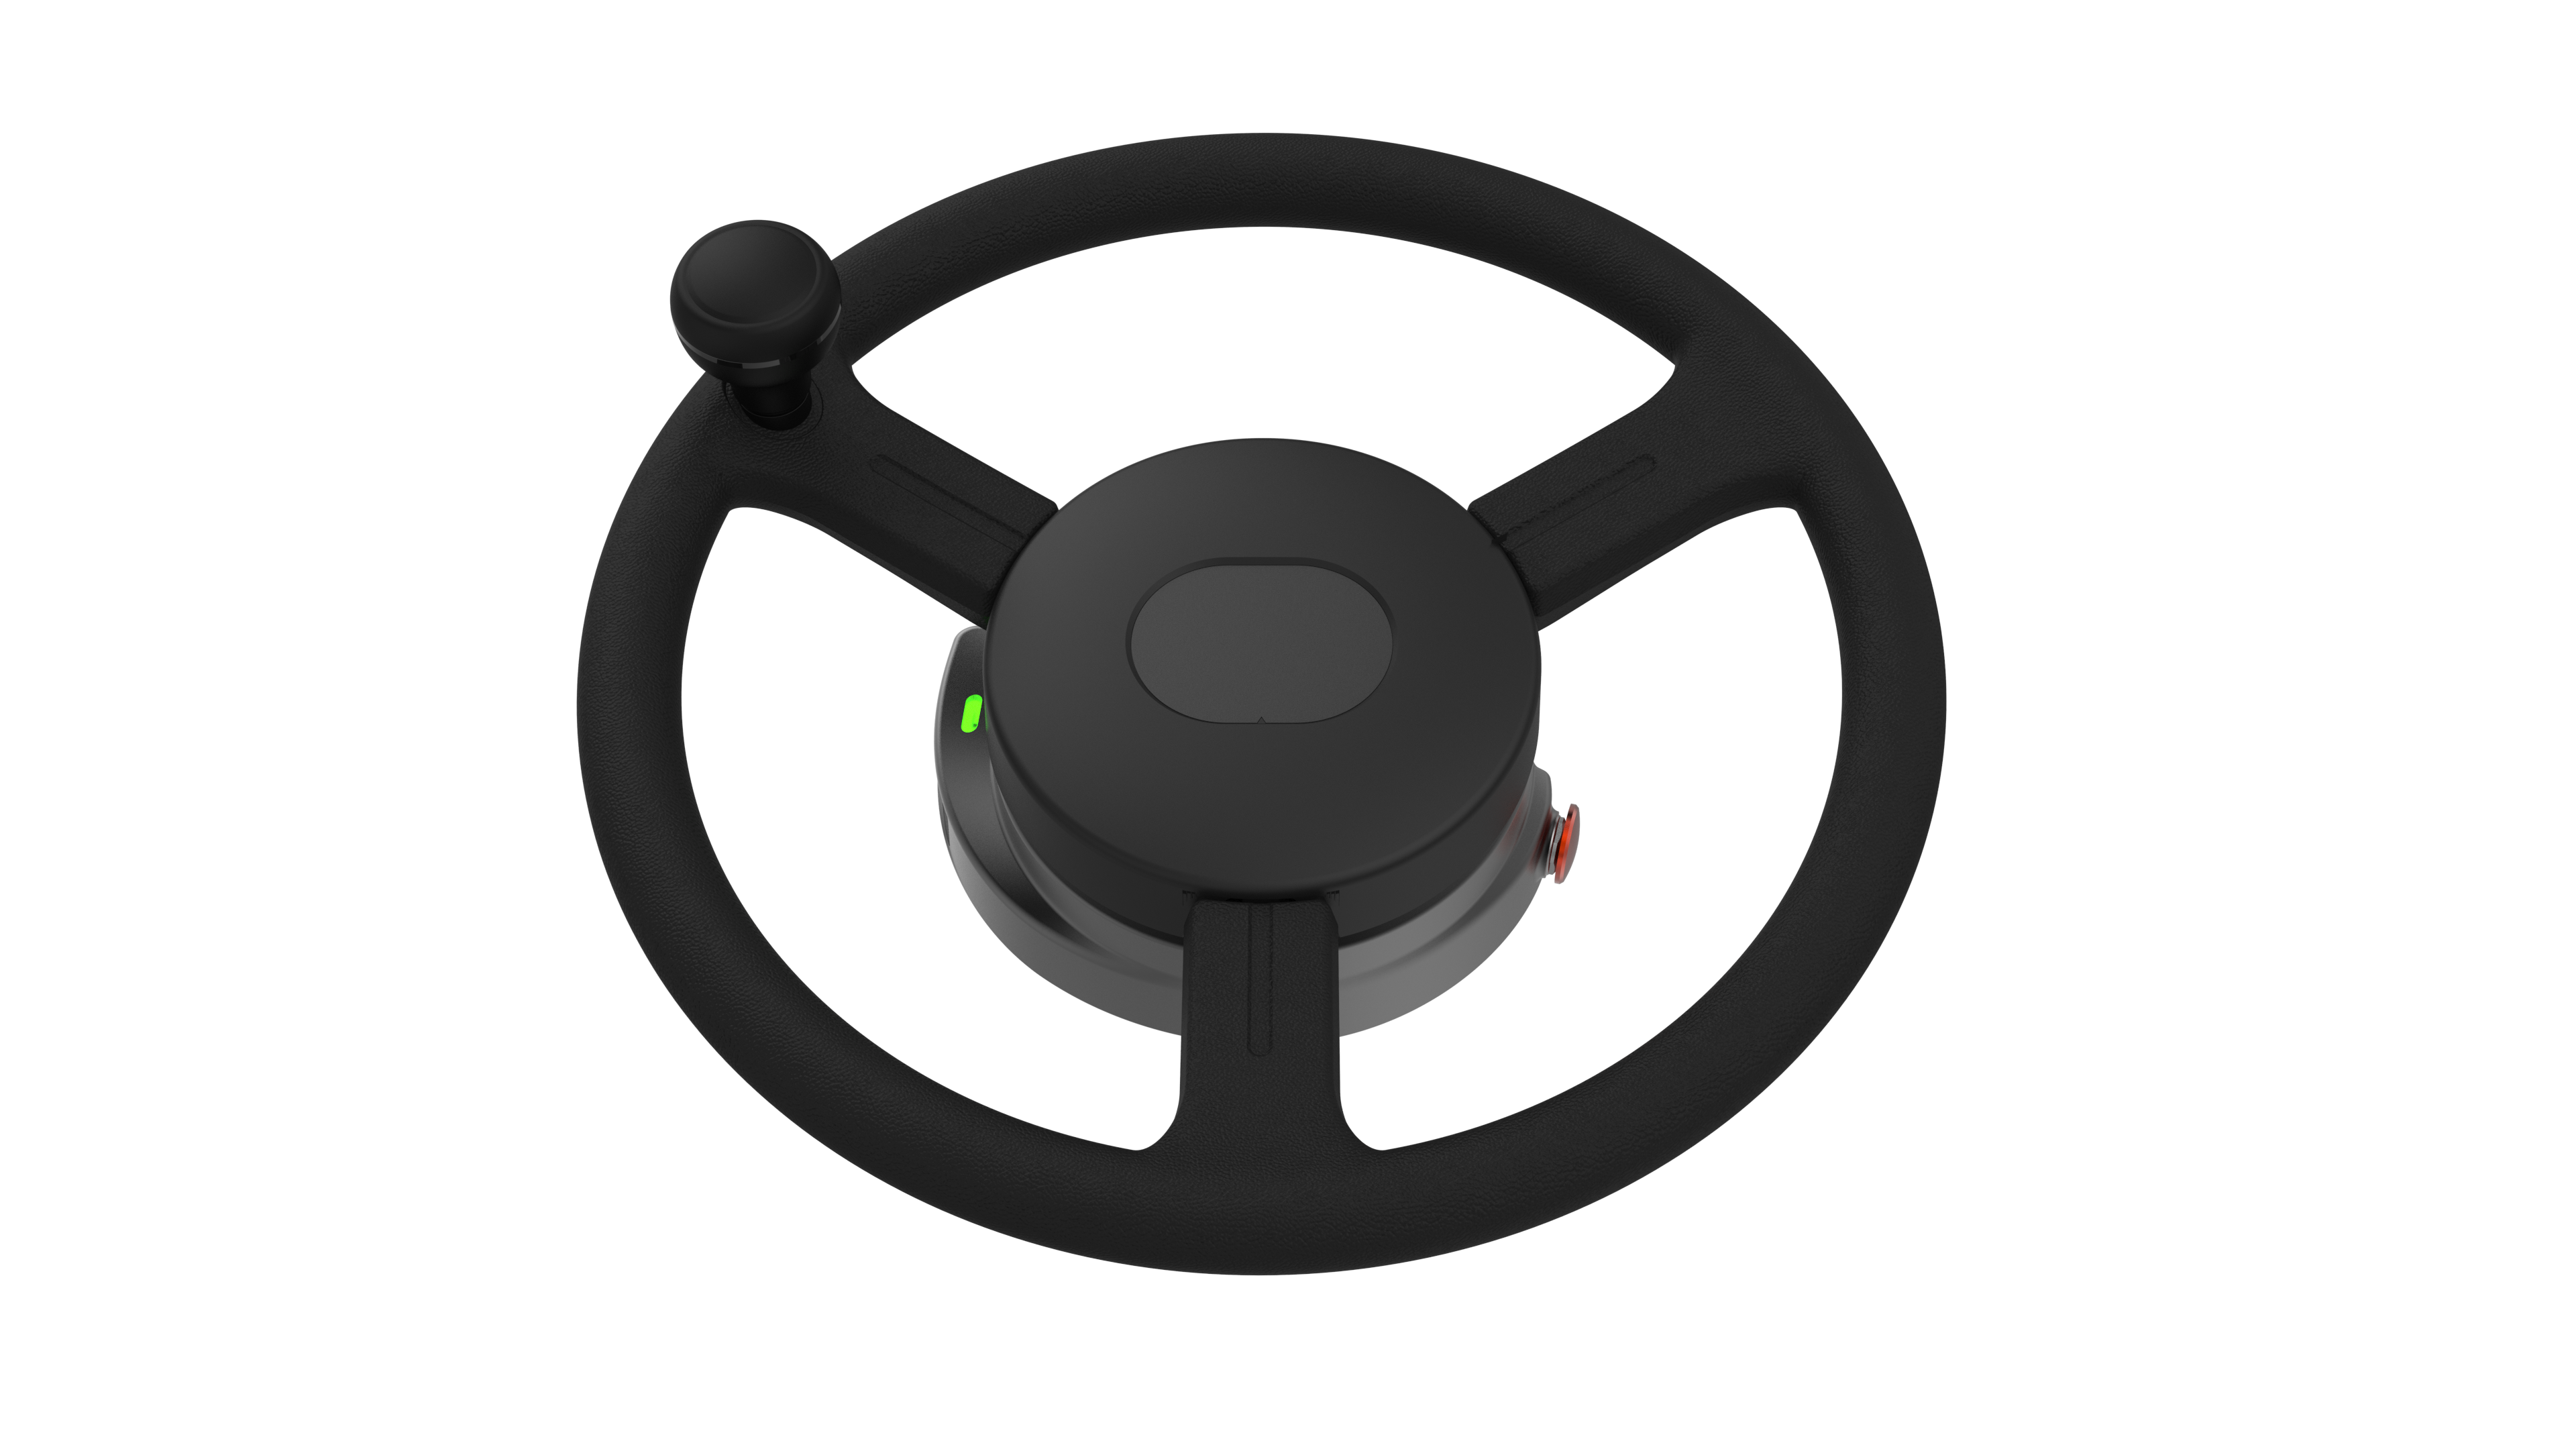
Installing an RTK auto steer system requires several critical components. First, you’ll need a GPS receiver that is compatible with RTK technology. Models such as the Trimble NAV-900 or the Case IH AFS RTK+ offer excellent precision and reliability. Along with the GPS unit, an autosteering actuator and control box are essential to facilitate seamless steering. Additionally, a compatible display or computer terminal needs to be installed in the operator’s cabin for real-time data feedback and control station settings. Carefully follow the manufacturer's instructions for each product to ensure optimal performance.
Step-by-Step Installation Process
The installation of an RTK auto steer system can be broken down into several key steps. Start by securing the GPS receiver, ensuring it is mounted securely on the roof of the tractor for optimal satellite visibility. Next, connect the autosteering actuator to the steering mechanism, which may require specific tools depending on the tractor type. Once these components are securely in place, run the wiring from the receiver to the control box, taking care to avoid any moving parts that could damage the cables. The final step involves configuring the display according to the guidelines provided and performing a calibration to ensure the system accurately responds to steering commands.
Calibration and Testing
Calibration is an essential procedure post-installation of the RTK auto steer system. This step ensures that the system aligns properly with the tractor's operational parameters, which is critical for achieving precision in the field. Following the installation, it's necessary to conduct a test run to assess performance. Check that the steering responds accurately and that there are no discrepancies in the width of the sprayed area. Make any necessary adjustments, and repeat the test until desired accuracy is achieved. A well-calibrated system can lead to a notable increase in field efficiency, allowing for consistent work across varying terrains.
Conclusion
Integrating an RTK auto steer system into tractor operations can significantly enhance productivity and efficiency. Proper understanding of the components, following the step-by-step installation process, and performing accurate calibration are all crucial for a successful setup. By leveraging advanced auto-steering technology, we can help farmers maximize yield while minimizing costs. We at EFIX are dedicated to supporting your journey through precision agriculture with our expert solutions and guidance for your agricultural needs.